
DIY Installing Vertical Shiplap
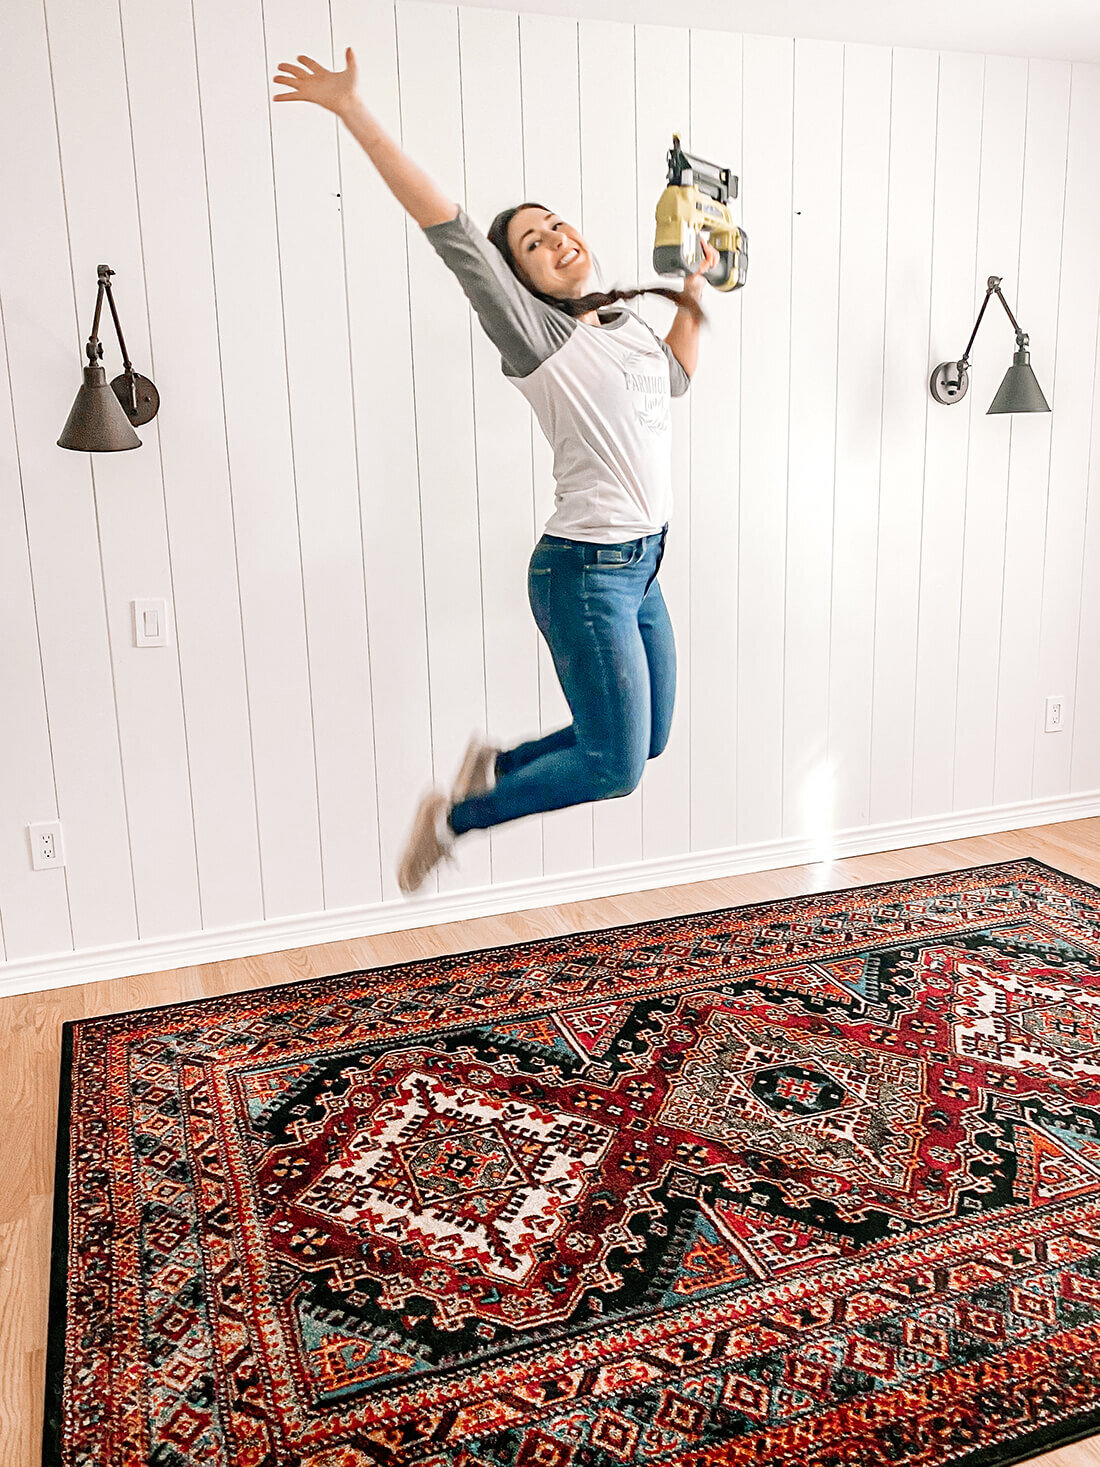
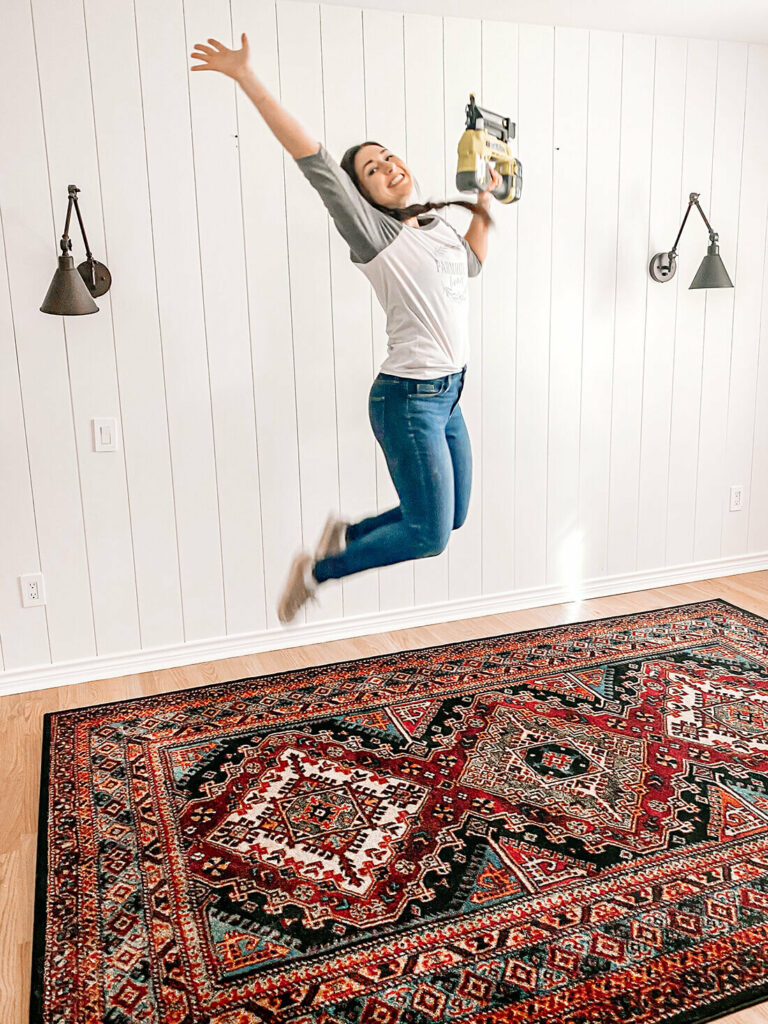
We recently added a DIY vertical shiplap accent wall to our bedroom and I’m so excited to share the finished product with you today! This accent wall is probably one of my favorite things in the house, and it was so easy to put together. This post is sponsored by UFP Edge.
I’m a huge fan of an accent wall to add a dose of character to a room. Vertical shiplap is a modern spin on classic horizontal shiplap. When I was dreaming up my master bedroom design every single photo I pinned had vertical shiplap so I quickly decided to commit. Originally I wanted to paint the shiplap a bold color like a deep green or moody gray, but spoiler alert I kept it white which I will share more about when I share the full design later this week.
I’m not your classic DIYer. Power tools have intimidated me in the past and I typically look at projects like this like they’re for professionals only, but after watching others DIY some amazing projects on Instagram I was inspired to give it a go. It was easier than I expected! If you don’t have the tools below you can rent or borrow from a friend as I did.
TOOLS
SUPPLIES
- UFP-Edge Nickel Gap Shiplap
- Furring Strips
- Brad Nails
- Caulk
WHY UFP-EDGE?
I chose to reach out to UFP-Edge for their Shiplap because of the quality of the product. They fit together like a puzzle making this project very easy for people with low skill level (me 🙋🏻♀️). Buying the pre-cut shiplap makes this project a quick afternoon! I had a friend take on the plywood shiplap DIY once and the boards were not straight and the gaps were uneven. This really swayed me towards finding a quality product for my accent wall. Each UFP-Edge board is straight because it’s made from finger-jointed, knot-free radiata pine wood, which resists warping.
I chose to use the Timeless Nickel Gap Primed Shiplap from UFP-Edge in 8in width, but they have a variety of options. I also used this product on the ceiling of a home mom and I renovated so I knew it was going to be great. It made the ceilings look so much taller and covered the popcorn ceilings easily without the messy scraping.
PROJECT PREP
Measure – The first step for installing these planks is to measure your wall and figure out how many boards you need.
Note – It’s recommended that after buying your material, allow the wood to acclimate for several days prior to installation in the room it will be installed in. Variances in temperature and moisture between the storage and application areas have a negative effect on the finished appearance if the product doesn’t adjust to room conditions prior to installation.
STEP 1: CLEAR WALLS & USE STUD FINDER TO MARK THE STUDS
You’ll kick off the project by moving furniture and decor from wall. Then give the wall a good wipe down using mild soap and water and a smooth cloth. I also had to remove my wall sconces and then the outlet covers. Once all is removed you can find and mark the studs.
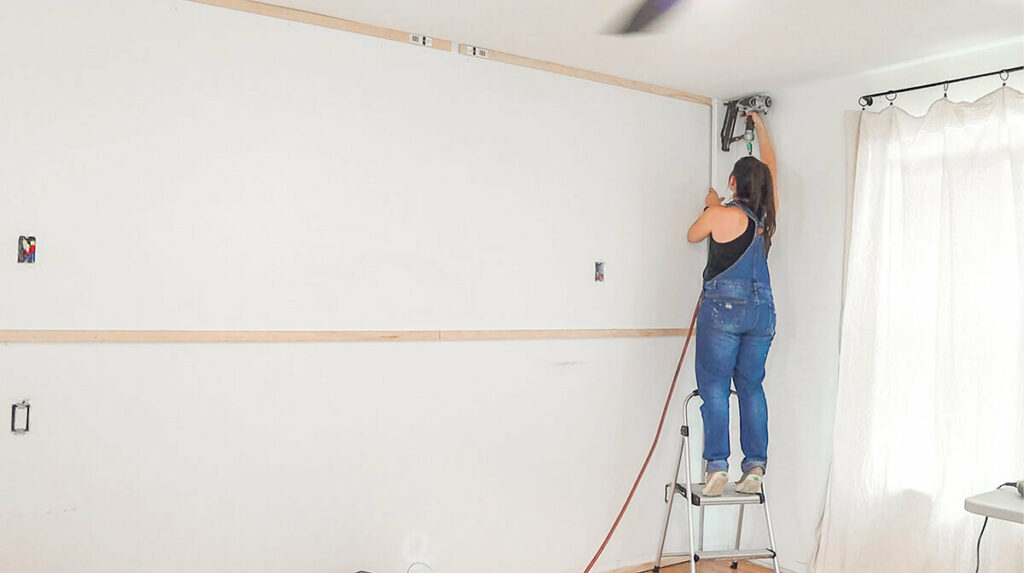
STEP 2: INSTALL FURRING STRIPS ON STUDS HORIZONTALLY
This is an extra step specifically for vertical shiplap. You would not do this if you were installing shiplap horizontally. I nailed my furring strips to the studs every 4ft. UFP-Edge’s tutorial recommends every 24″. If you’re a complete DIY newbie like me, furring strips are simply cheap thin pieces of wood. In this project, they’re used to secure the vertical shiplap to the studs as they would if you installed them horizontally.
I’ve seen many tutorials online recommending skipping this step and using Liquid Nails instead. Note that Liquid Nails will most likely ruin your drywall if you try to remove the boards. So if you are installing vertical shiplap as a somewhat temporary wall treatment, you may not want to use Liquid Nails. I did not want to chance it so I chose to install the furring strips instead.
STEP 3: INSTALL SHIPLAP
These go up super fast if the height of your wall matches the length of the planks. I was lucky and didn’t have to cut my boards since my ceilings are 8ft tall and the boards were 8ft tall. This took an extra step out of the project for me.
If your ceilings are not the same height of the board you’ll need to measure the height of your wall for the first board. You may be tempted to take one measurement and cut all of your boards to that length (after all, the ceiling is the same height all the way around, right?), but don’t do that! Your ceiling (and likely your flooring) isn’t perfectly straight or level and there will be variations. I would measure and cut as I go to have less room for error.
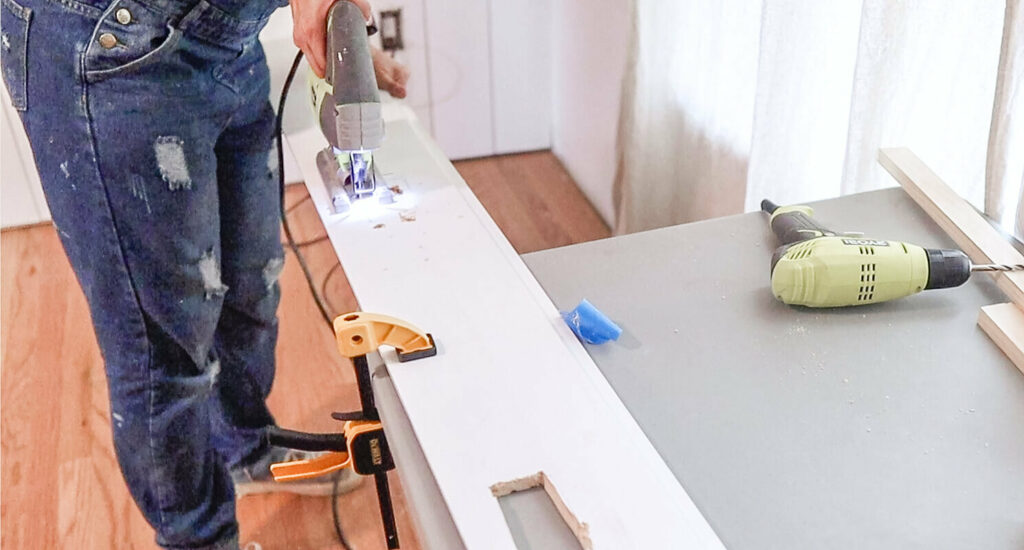
STEP 4: CUT BOARDS WHEN NECESSARY
This was the step that scared me the most but was much easier than anticipated. I used my jigsaw to cut around outlets. I traced the smaller piece of the outlet cover as my guideline. I drilled a hold in the corner to give my jigsaw an entrance point. Then I cut the first side. If the jigsaw didn’t have a way to enter the corner I used the drill to create an entry point again. This was my first time using a jigsaw and it worked great. The lines aren’t perfect, but the outlet cover and wall sconces go right over the hole so it doesn’t matter. The holes only didn’t line up once and so I had to toss that board, but that was simply because I was in a rush. If you take your time this is no big deal. Here’s a video I found helpful with more detail on this step.
The final row will likely have to be cut lengthwise to fit. Measure the gap in several places, in case the wall isn’t perfectly level. Then cut the board with a circular saw or jigsaw. I used a jigsaw and measured every foot as my wall was pretty slanted. It was 4″ at the top and 5.5″ at the bottom. Once I cut with a jigsaw it fit like a glove and then when you caulk it looks perfectly finished so don’t worry too much when cutting.
STEP5: INSTALL BASE BOARDS, WOOD FILLER, CAULK, AND PAINT TO FINISH
I also caulked all along the top of the boards, and in the corners. Caulking vertical shiplap is a little annoying because of the gaps – I just kept a flathead screwdriver nearby and caulked each board one at a time. If any caulk got into the gaps, I gently pulled it out with the screwdriver. It was slow-going but not as bad as you might expect!
I began painting with a roller but found that getting between the gaps was giving me trouble with the brush and the roller. I had an easier time with my Wagner 3000 Paint Sprayer. I would recommend this method even more if you’re doing a bold color so that it’s even in the gaps and has a great smooth finish.
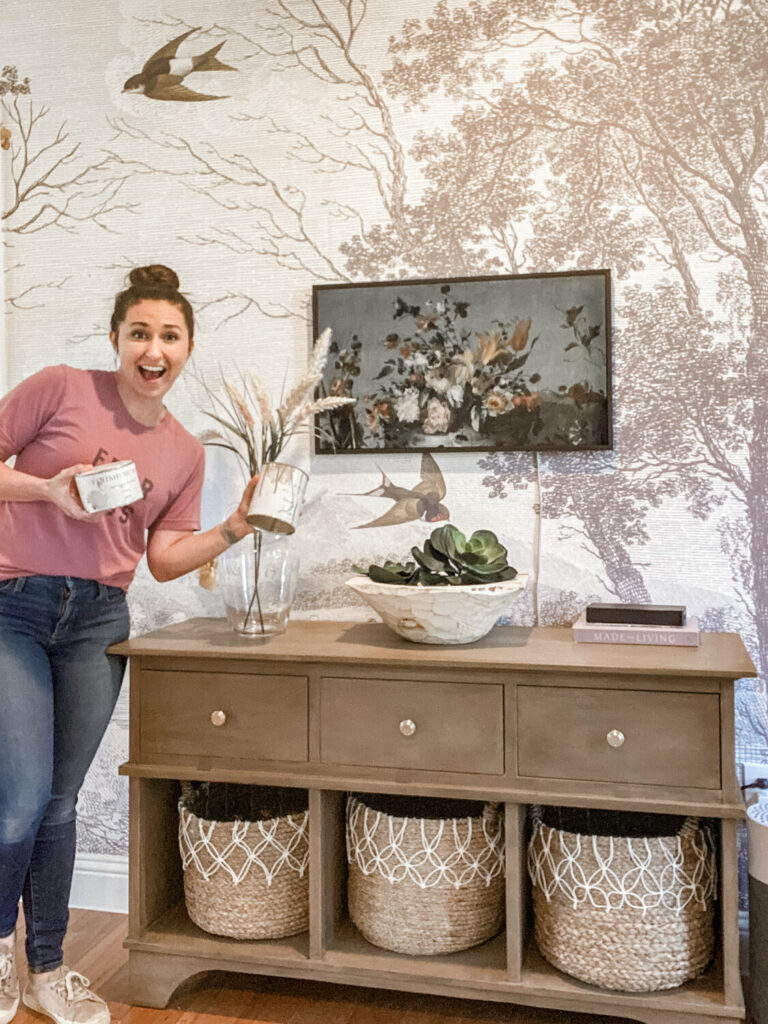
I actually loved this in my bedroom so much I ended up using the extra boards to do a small accent over my bench in my dining area. It created a really fun picture ledge and it gives a preview as you enter my master which is right off the dining room. It gives the character I really needed in my freshly renovated home. I also feel like the shiplap being vertical draws the eye up making my short ceilings in my 1960’s ranch home feel much taller. So if you have shorter ceilings create the optical illusion that your ceilings are higher than they actually are with this accent wall.
I’m so excited to be wrapping up this room FINALLY. The fun thing about my master is prior to renovation it was the garage. You really can’t tell from the inside or out, but knowing it was my garage made me want to see it completed so much more. Later this week I’ll be sharing the completed space with more details on the garage conversion as a whole.
What do you think about vertical shiplap? Are you going to take on the project? I’d love to hear in the comments below.

Never showed how she caulked the top and that is why I listened to her video. Instead of all that talking show how you did things. The project did turn out nice