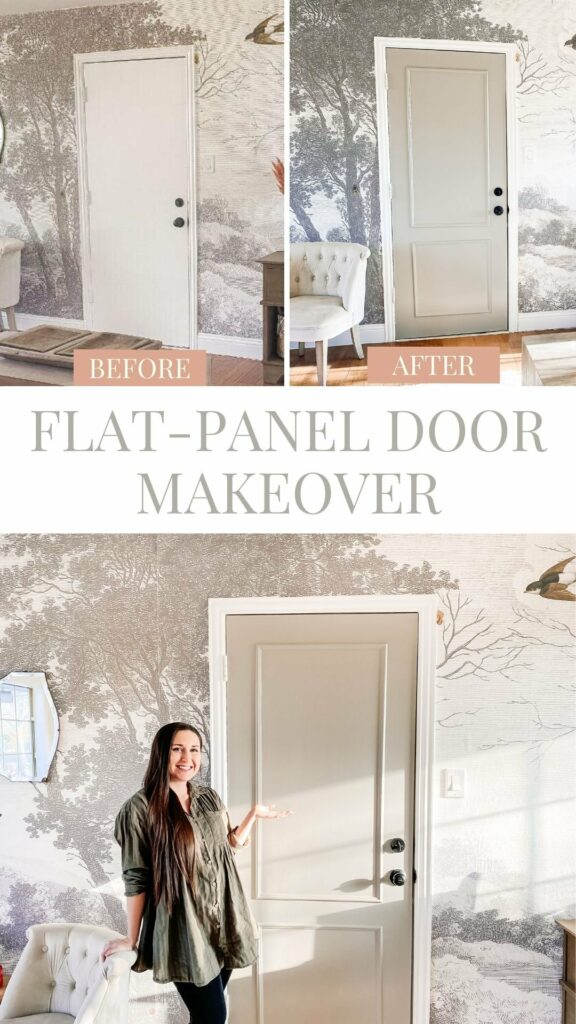

Flat Panel Door Makeover – DIY Picture Frame Molding on Door
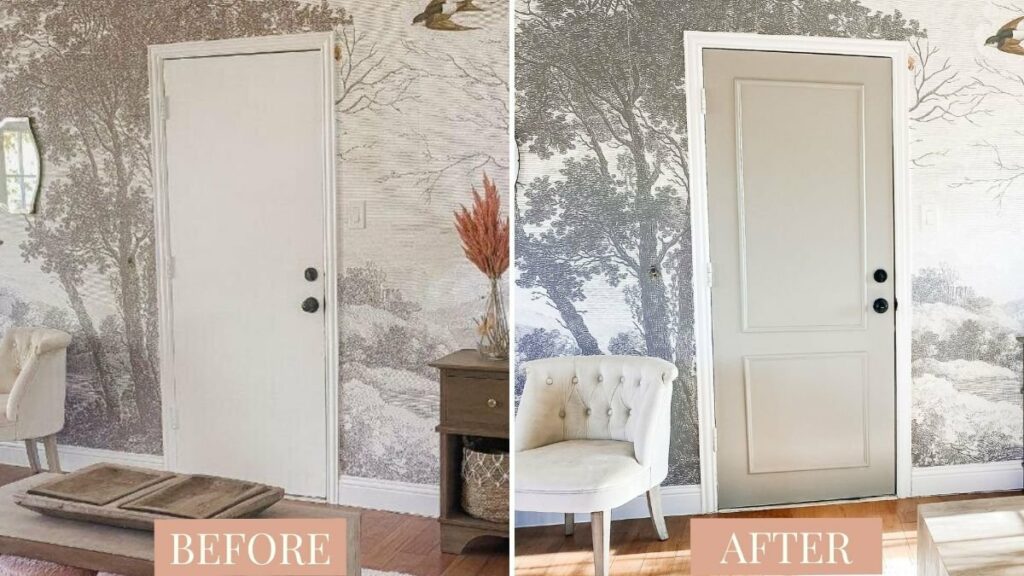
Here we’re sharing how we made over a boring flat panel door into a beautiful statement for under $20!
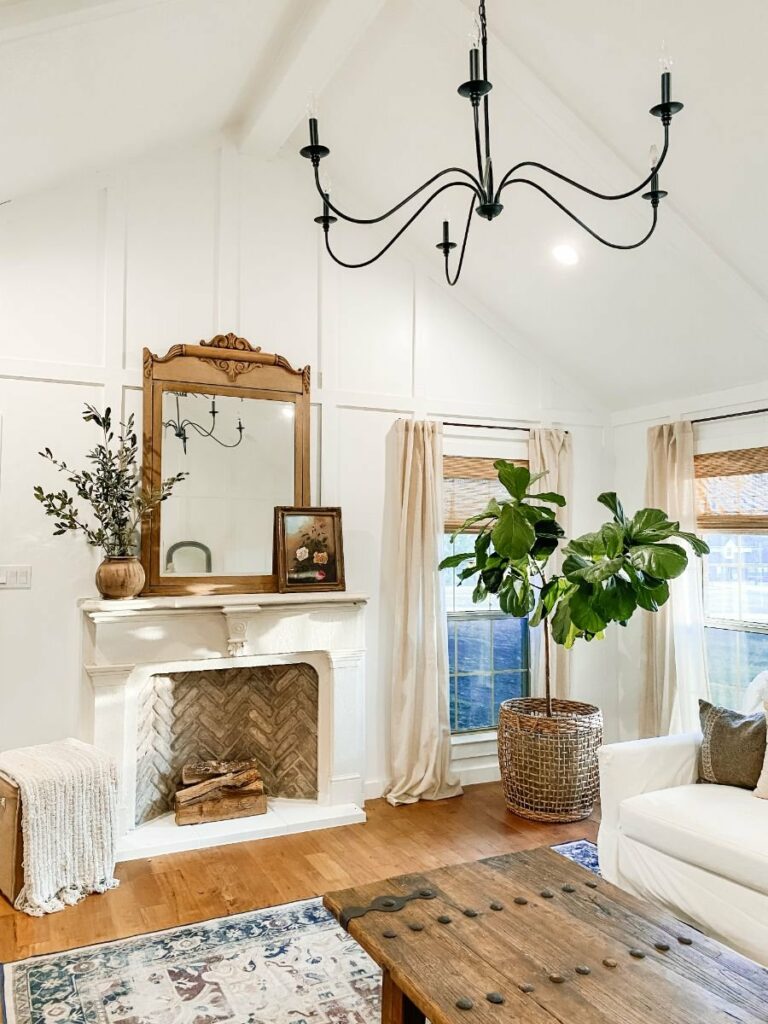
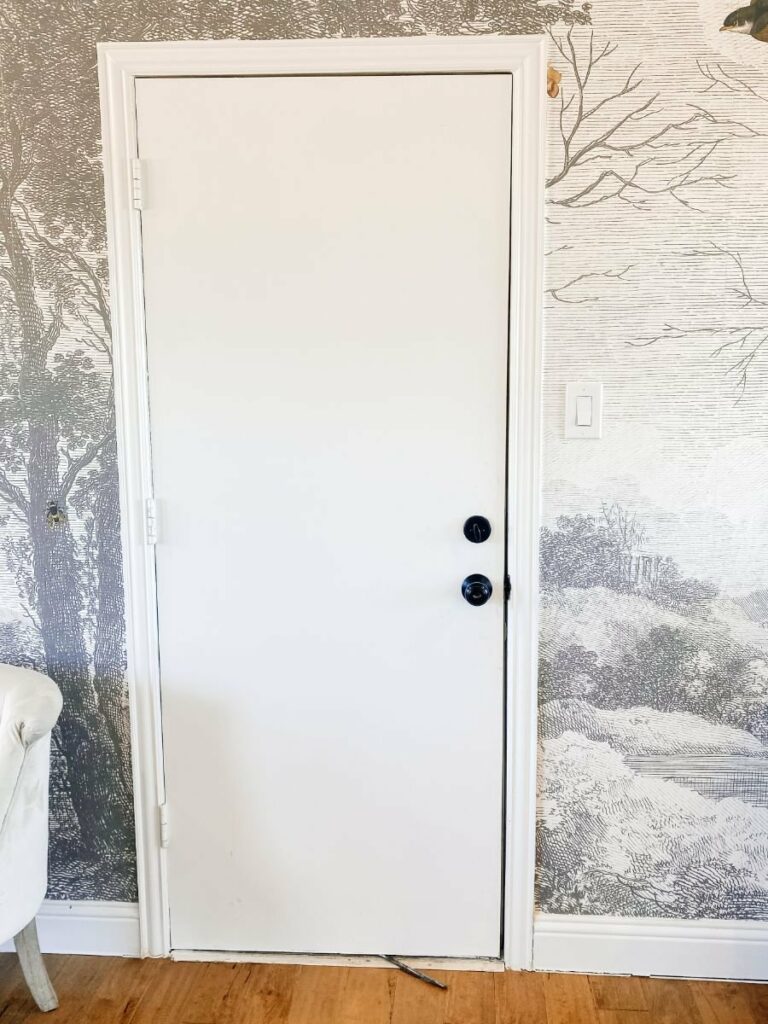
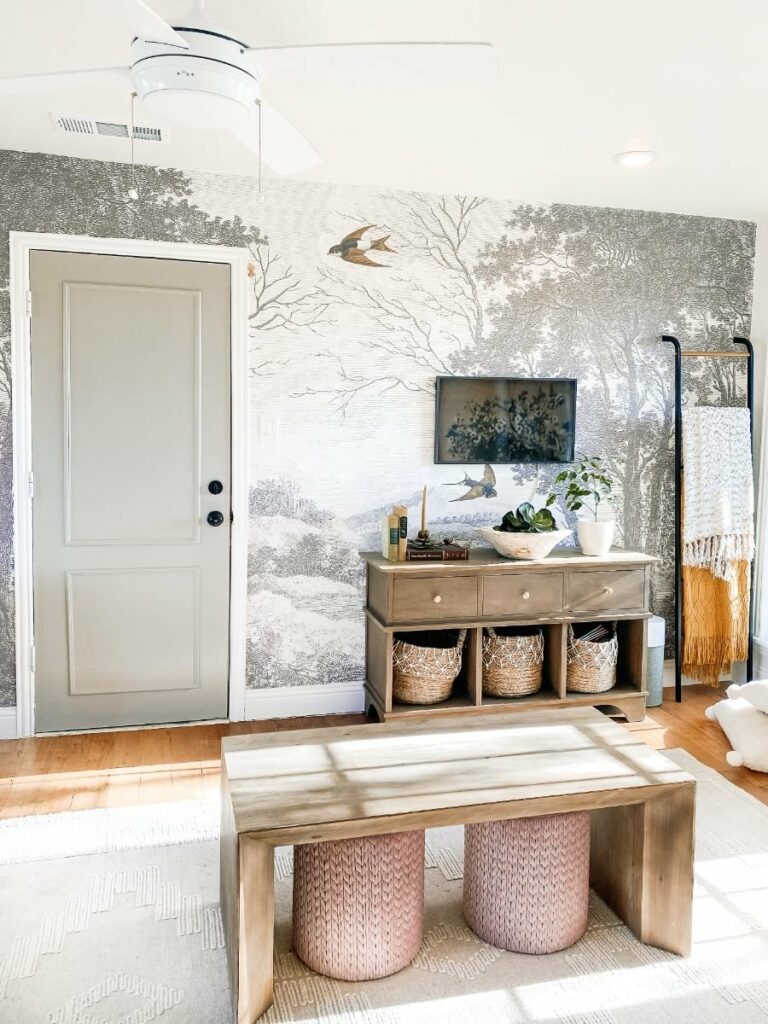
When we originally redid our playroom, one element I loved was this stunning wallpaper from Woodchip and Magnolia. The mural added the perfect dose of whimsy that the playroom needed but functioned as a piece of art in the view from the living room. This wall is was of my favorite spaces in my home, but the door here just didn’t fit in. Luckily, this picture frame molding DIY upgraded this door in less than an hour. I’m a beginner and if I can do this project you can too!
SUPPLIES
-Trim Moulding of Your Choice – We used this 5/16 in. x 7/8 in. Solid Pine Wall and Cabinet Trim Moulding from Home Depot
–Caulk (Optional)
–Wood Putty (Optional)
–Brad Nailer (Optional)
STEP 1: DECIDE ON THE DESIGN
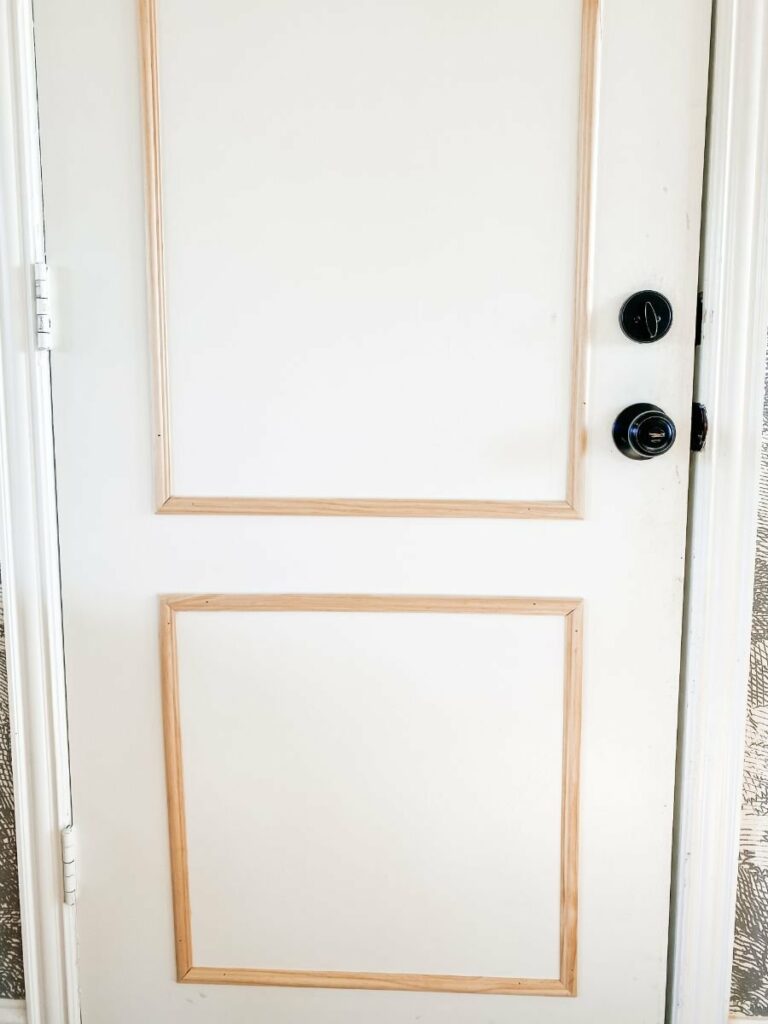
There are so many options when it comes to adding trim to your door. We chose to do a rectangle at the top and a square at the bottom. I’ve seen others create designs with three boxes or just one single box. All options will make the door look great! We used painter’s tape to lay it out on the door. This also helped us visualize and confirm this is the design we were looking for.
The measurements for the triangle was 22″ x 44″ and the square was 22″x22″. Each trim piece was 5″ away from the exterior of the door.
STEP 2: CUT TRIM PIECES
Once you’ve created your design it’s time to cut your trim pieces. I used my miter saw to cut them to the length they needed to be then mitered the edge to a 45degree angle. If power tools intimidate you this project is still something you can take on. Although I used a miter saw you can use a miter box which is very cost-effective and less intimidating. Both get the job done.

STEP 3: DOUBLE-CHECK YOUR CUTS
I laid my pieces out on the ground in the layout that they would go on the door to make sure they would fit together perfectly. I was so pleased that mine worked on the first try!
STEP 4: INSTALL TRIM TO THE DOOR
I used my brad nailer to attach the trim to the door. I’ve also seen this done with liquid nails where they tape the trim on the door while the adhesive is drying. Both options work!
I attached the top piece first then the first side, the second side, and lastly bottom. Don’t be worried if the mitered edges aren’t PERFECT. Caulk will make it look like a pro installed it.
STEP 5: CAULK, WOOD PUTTY & PAINT
I filled each nail hole with wood putty. You won’t have this step if you use liquid nails. Next, I caulked the edges. This immediately made it look so clean and professional.
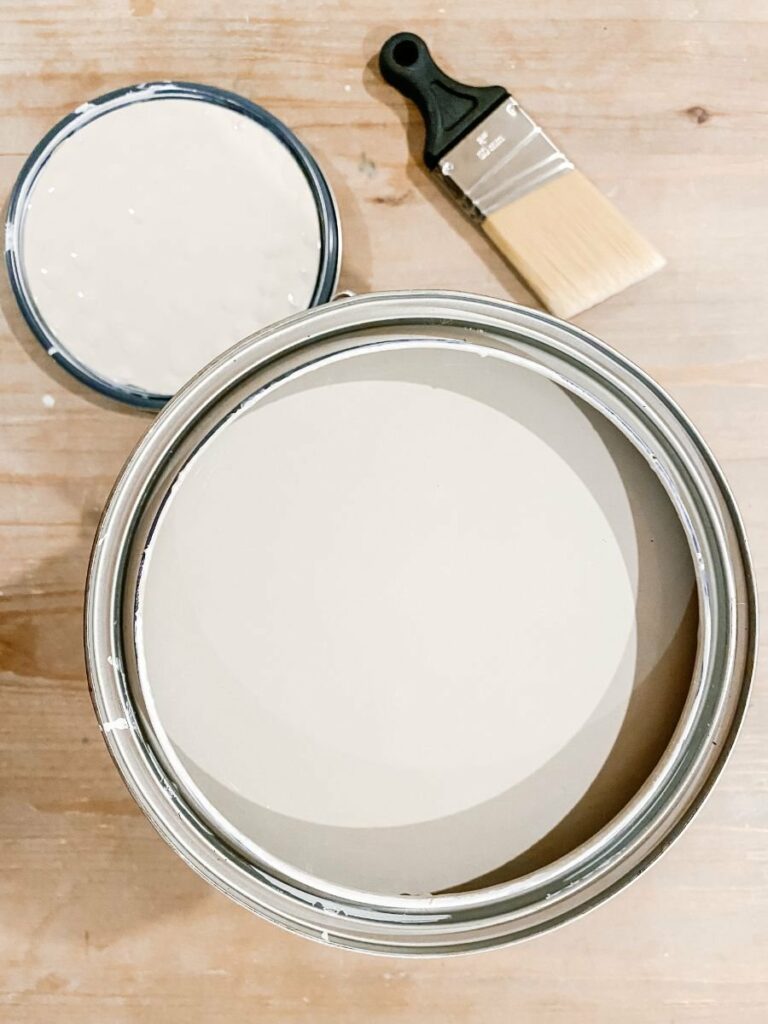
I chose to paint the door Sherwin Williams Dorian Gray. I loved the color so much I’m going to paint all the doors in the playroom this color.
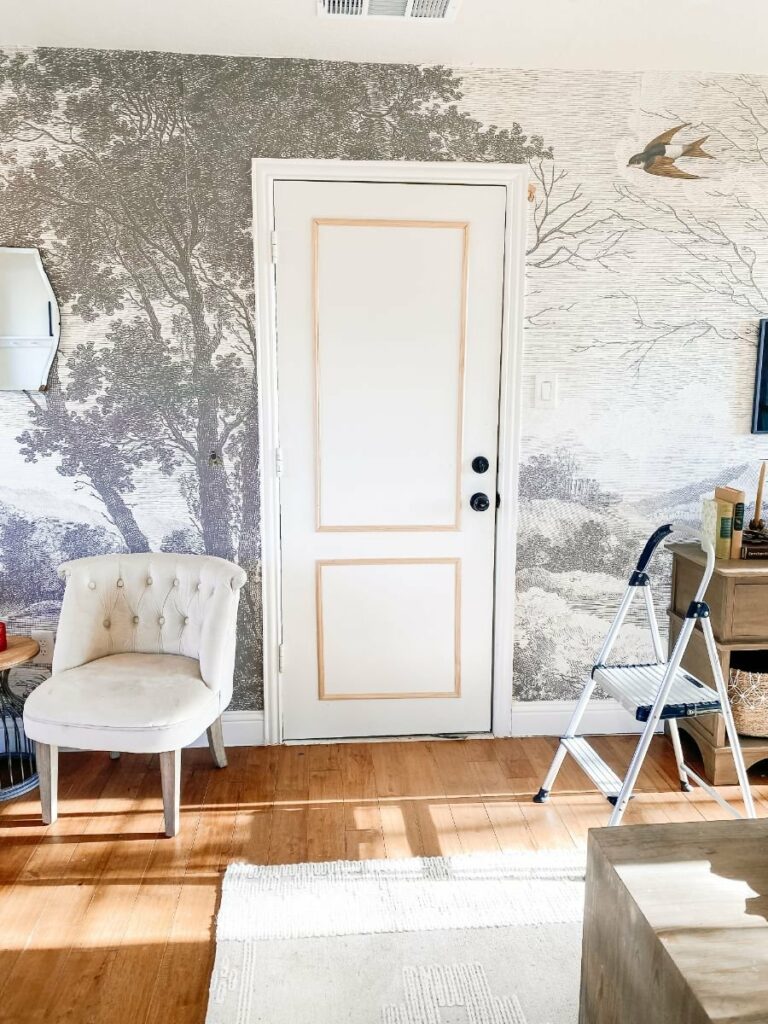
This project made such a huge impact! The door now looks as great as the wallpaper and the rest of the room. I love how it looks in view from my living room. The picture frame molding compliments the board and batten and vintage mantle! They’re independently beautiful, but then stunning when you put them all together.

I hope this project encourages you that even the most boring flat panel door has so much potential. If you have any questions make sure to leave them in the comments. We love to hear from you and your question might help someone else taking on this project.
PIN FOR LATER