

1960’s Ranch Renovation – MidCentury Modern Farmhouse Mix Home Tour
I’m so excited to finally be sharing my own home tour. We’ve been renovating this 1960’s ranch for almost 5 years and as we were wrapping up the projects, we fell for a new home (that also needed TLC) and we sold this beauty. As we come to a close with our time in this home it’s time to give a full tour including all the changes we made. I can’t wait for you to see how far it’s come.
HOME EXTERIOR
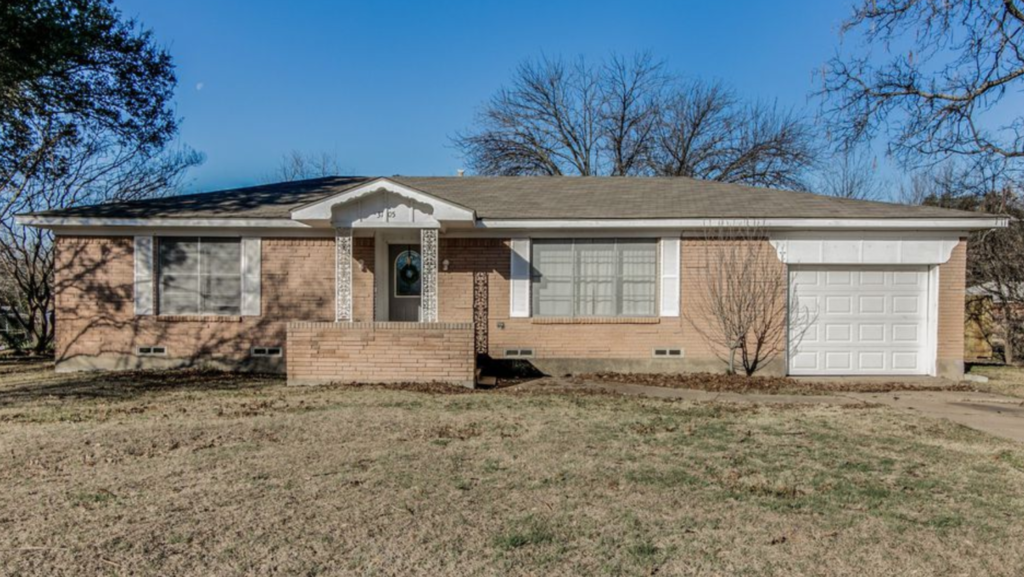
When we purchased the home the coral color of the brick and the brick planter around the entrance of the house is what bothered me the most. Isn’t it funny that the thing that bothered me the most ended up being very helpful to making this exterior look great. As you can see in the after photo, we converted the garage. Where there was once an old metal garage door, there is now a beautiful black framed window with original brick filling in the space. We were able to use the original brick from that uninviting planter to make the conversion look like it always was. It would have been much more of a challenge to create a look with another material since this ranch home has a very flat facade.
BEFORE
AFTER
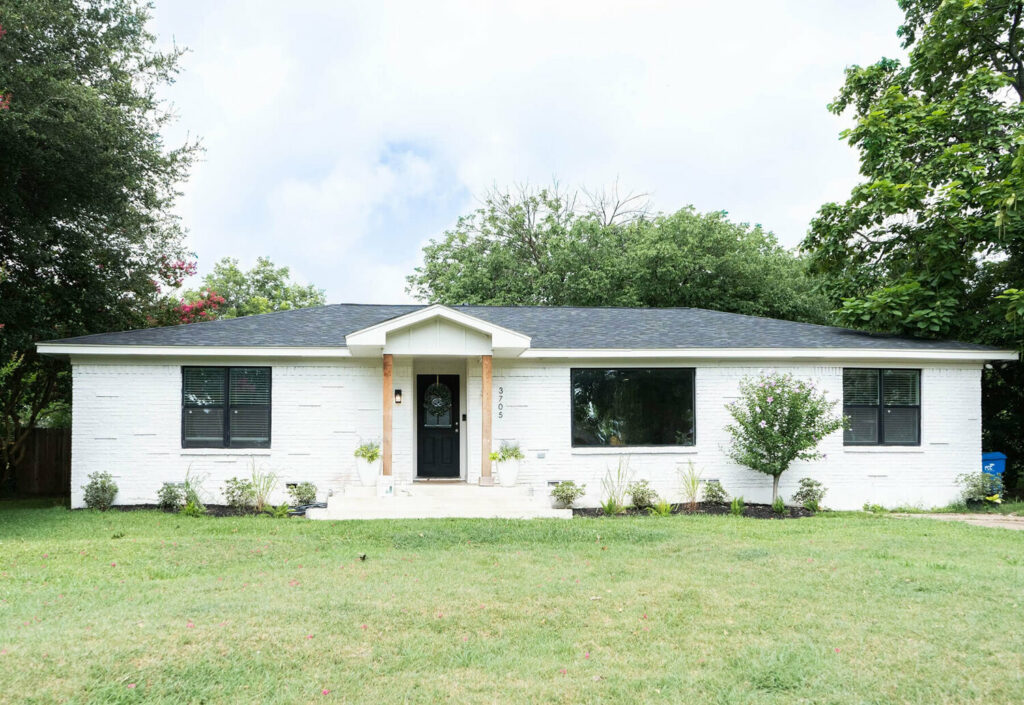
Once we updated the windows and removed the old brick from the wrong places and added it to the right ones, we painted the brick with Romabio Limewash. It’s held up great over the last 3 years and I would highly recommend their product.
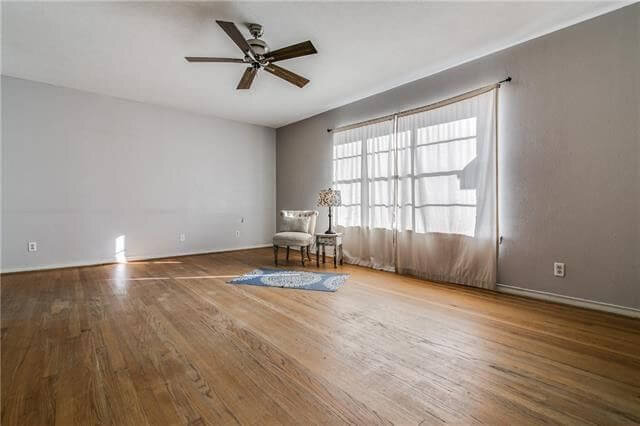
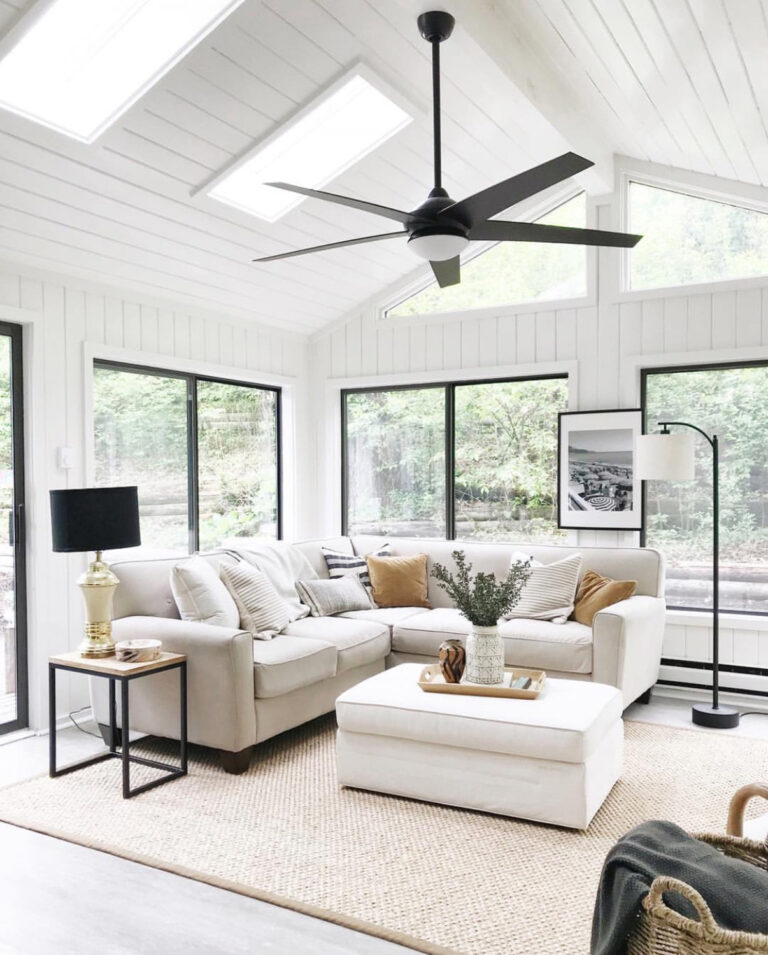
LIVING ROOM & ENTRY
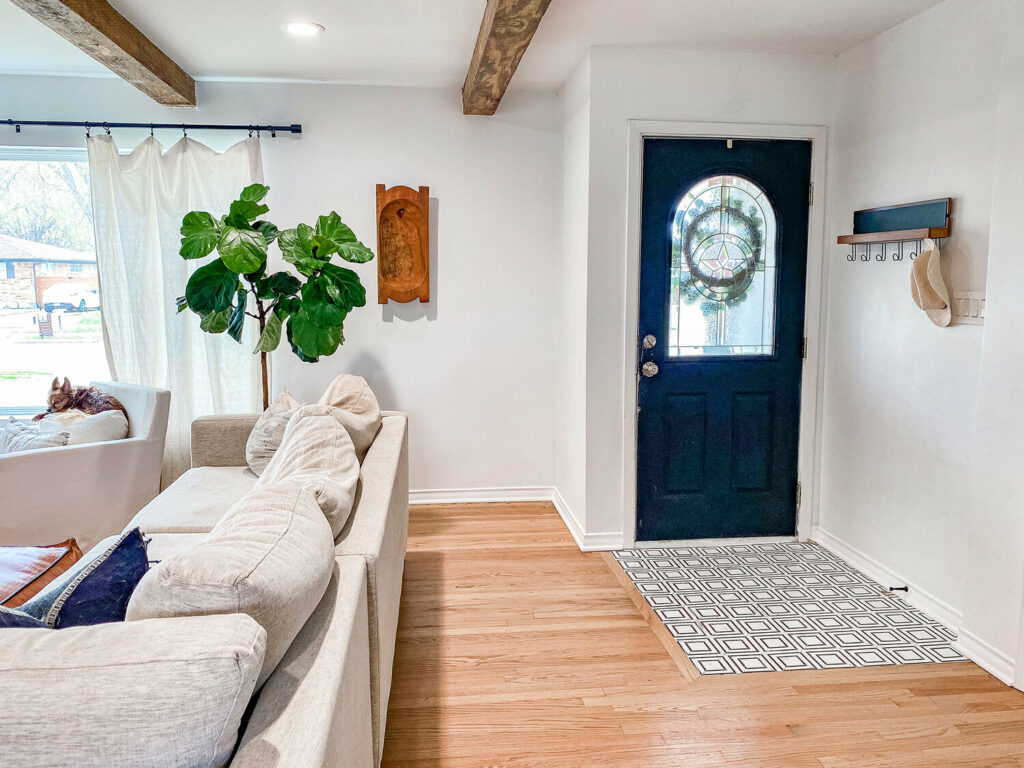
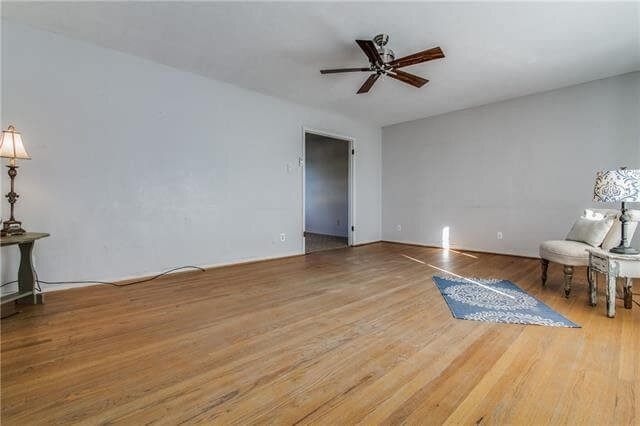
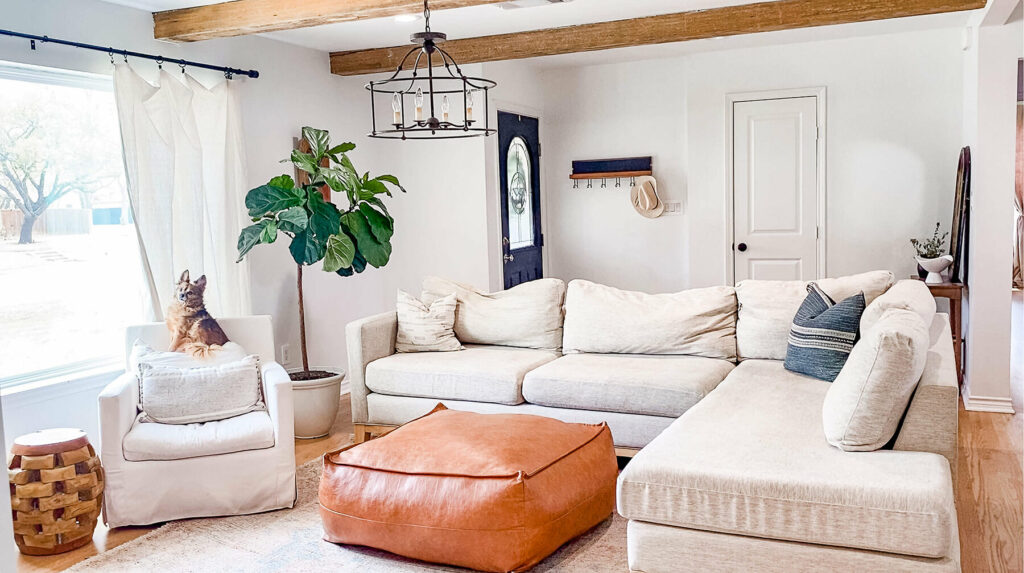
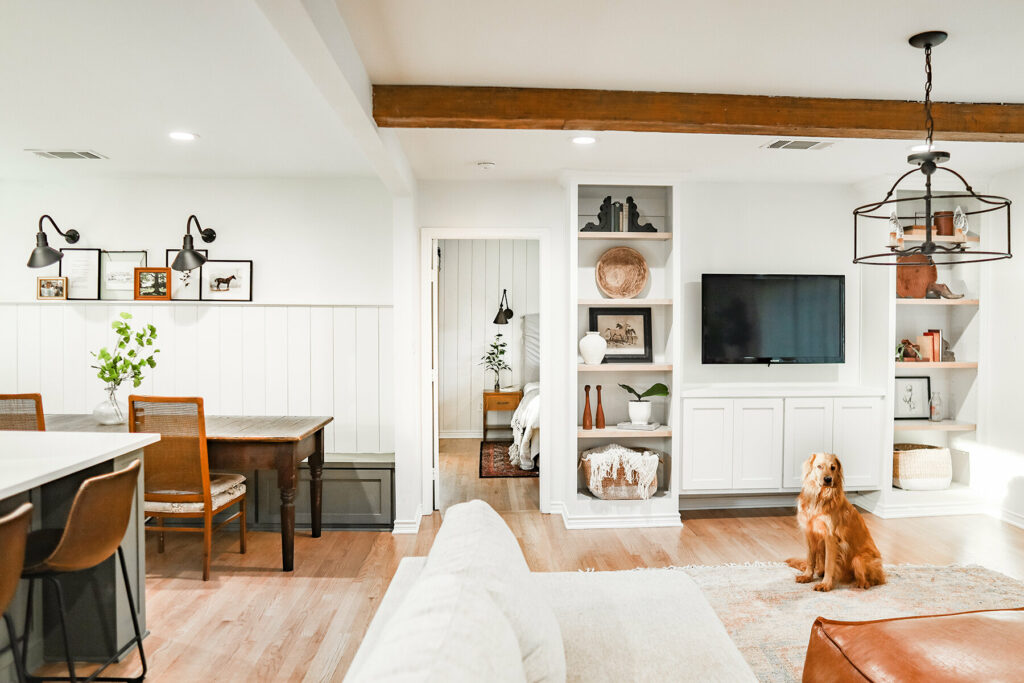
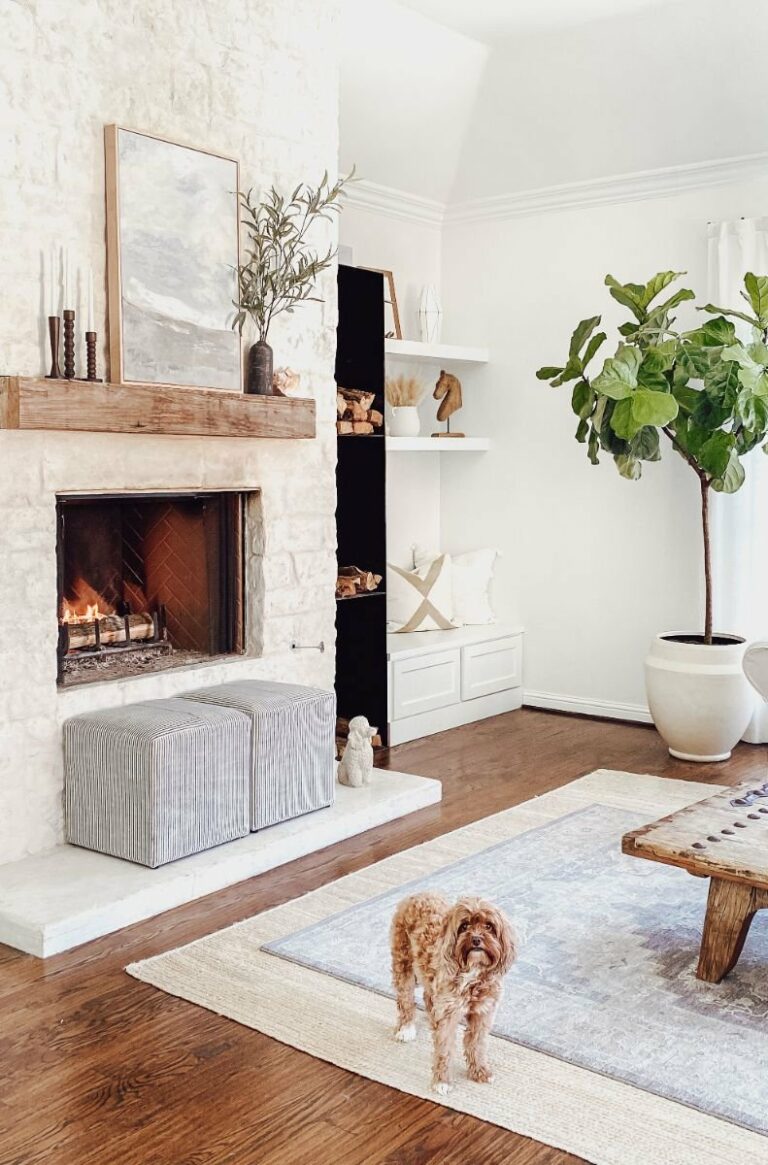
When you walked into the home you were greeted by doors left, right, and center. There were walls and doors closing off every space in the home. The living room felt so small and had no character. The first thing we did was open the walls up. This meant adding a beam since one was load-bearing. This immediately made the entry, living, kitchen, and dining feel so much bigger.
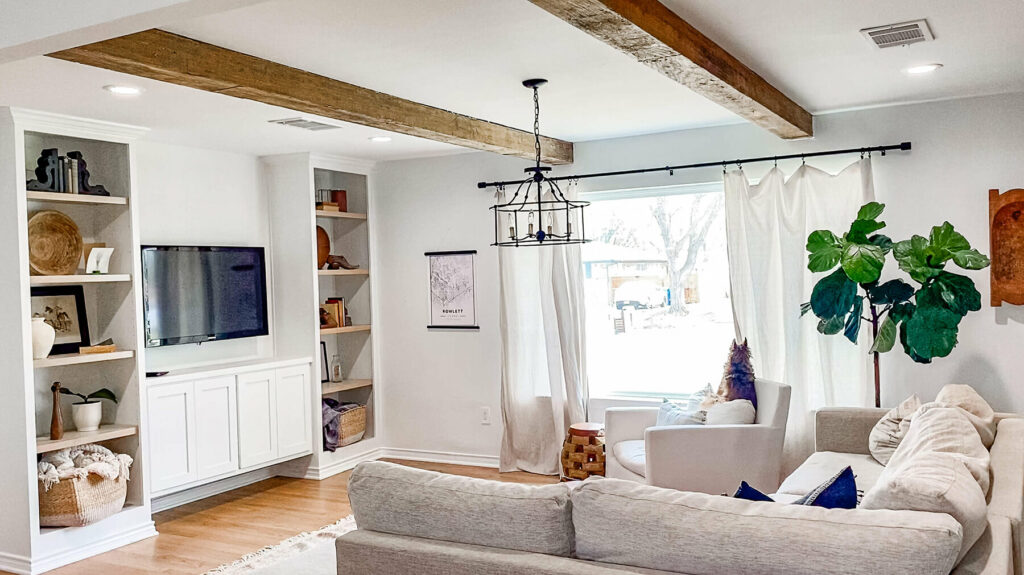
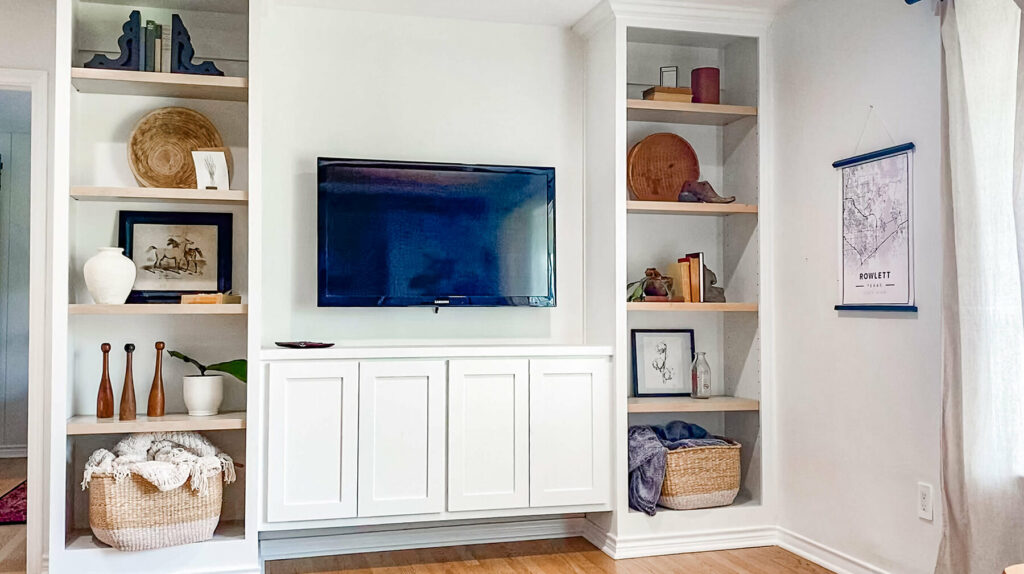
To add character we added old barn beams in the ceiling. Some may be nervous to do this in a home with shorter ceilings, but I was so glad I did it because it made the room. The living room built in also added character plus function. As my daughter got bigger we needed a place to store her toys that was discreet and easy to clean up. One side of the built-in is dedicated to just that. The other side of the built in is for media stuff.
BEFORE

AFTER
BEFORE
AFTER
KITCHEN
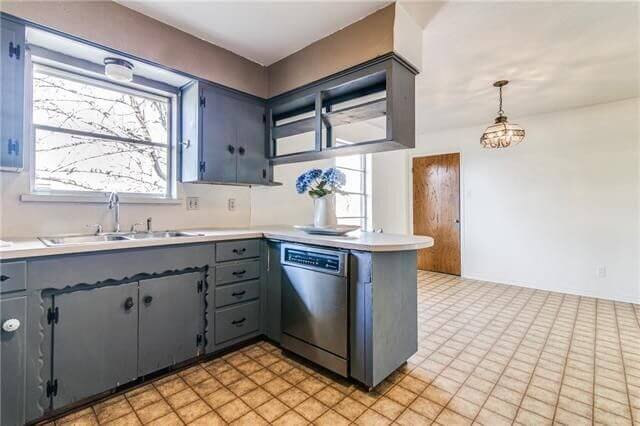
In the before of this kitchen, you’ll see 1960’s features like orange linoleum floors, a soffit above the ceiling, and gingerbread molding on the cabinets. This room was also very closed in and not functional. The water heater was in a closet on the wall along with the furnace taking up almost all of the storage that should go towards a functional kitchen. The cabinets were made of particle board in pretty bad shape so we had to start from scratch.
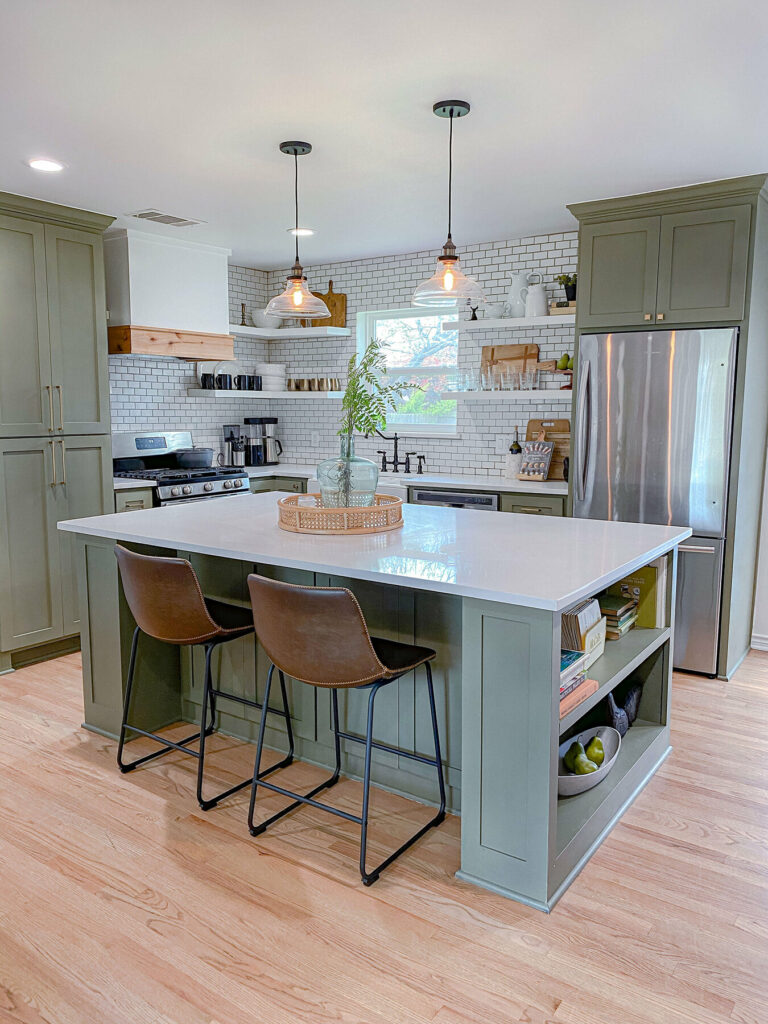
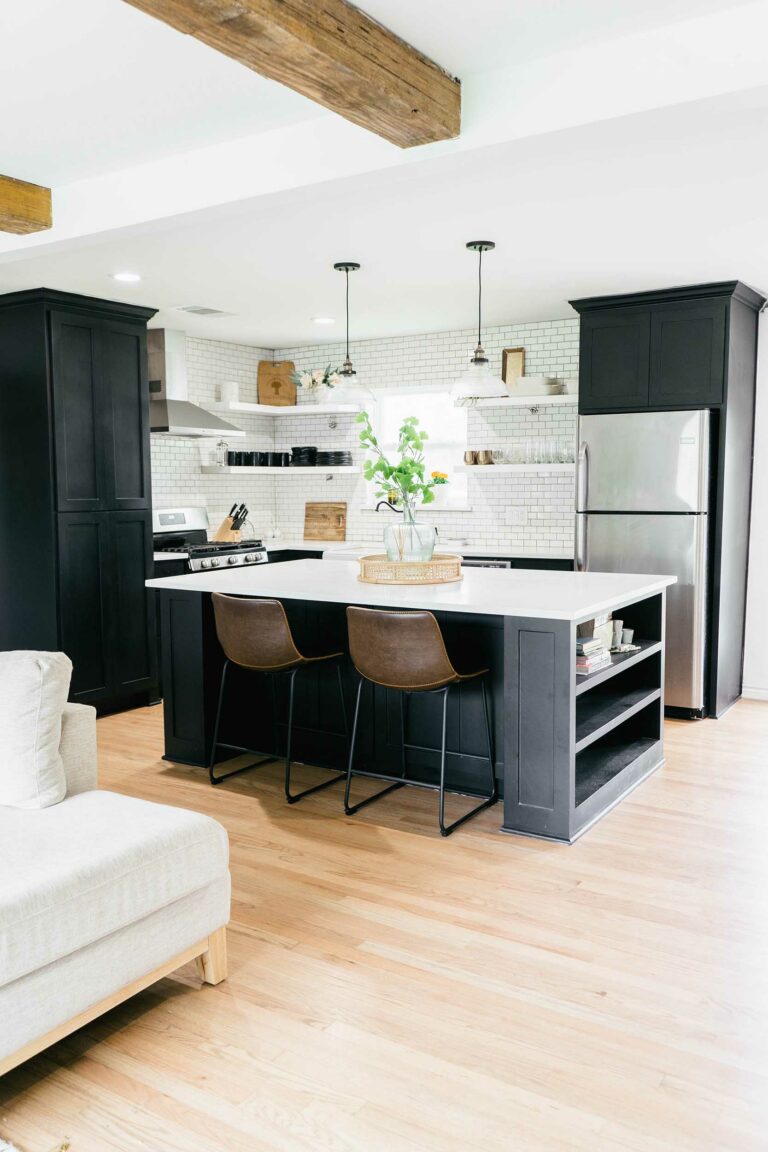
Once we tore out the wall in between the kitchen and living and removed all the cabinets we could more clearly see the potential here. My biggest design delimma in this space was the flooring. I loved the original hardwood in the rest of the home, but was worried it would be impossible to match. I tried to search for tile that would work but nothing really clicked. After talking to a few flooring installers I found one I could trust and they installed new hardwoods in the kitchen and in the addition and refinished all the flooring at the same time. You can’t tell at all what’s new and what’s old. I was so impressed and this was one of my favorite features in the home.
BEFORE

AFTER
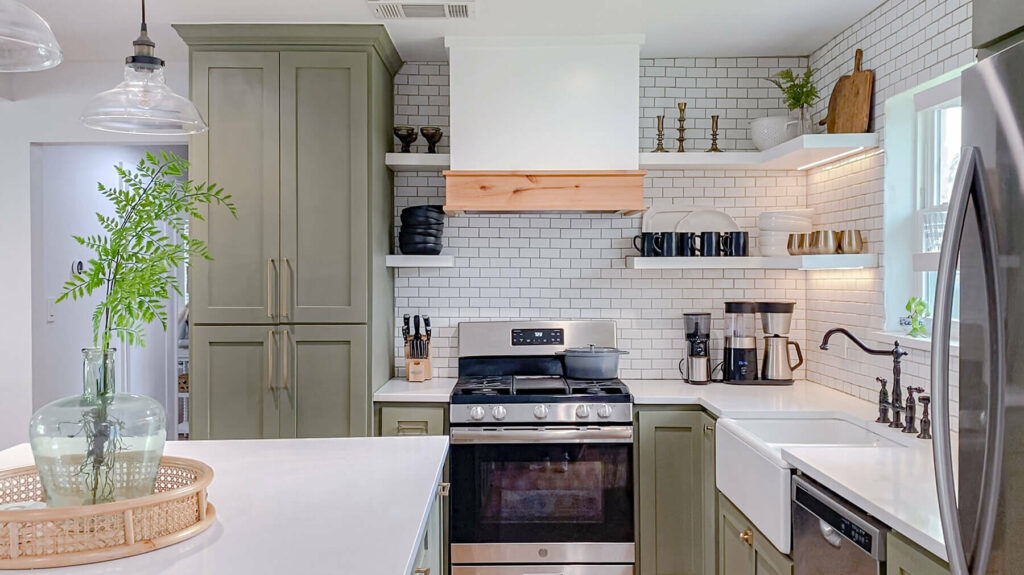
Another feature about this kitchen is that it was once black! When we first renovated I wanted to lean into the midcentury modern look that a 1960’s home naturally falls into and I felt like a black cabinet did just that. I loved it for a time, but after a while, I felt that it made the space heavy. I ended up painting them Sage by Jolie and LOVED the end result.
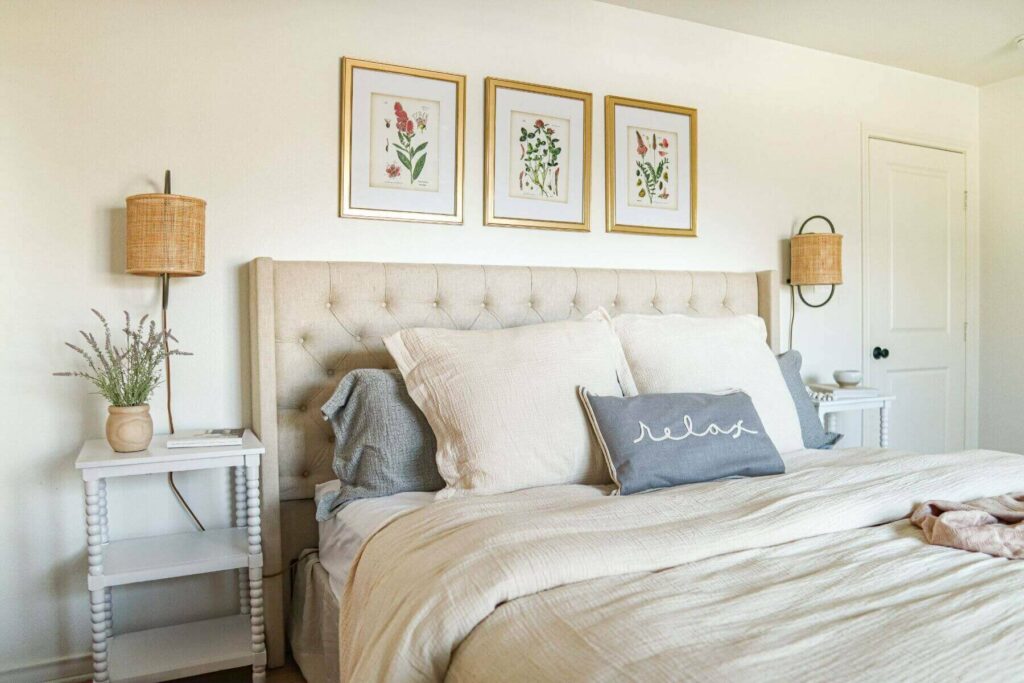
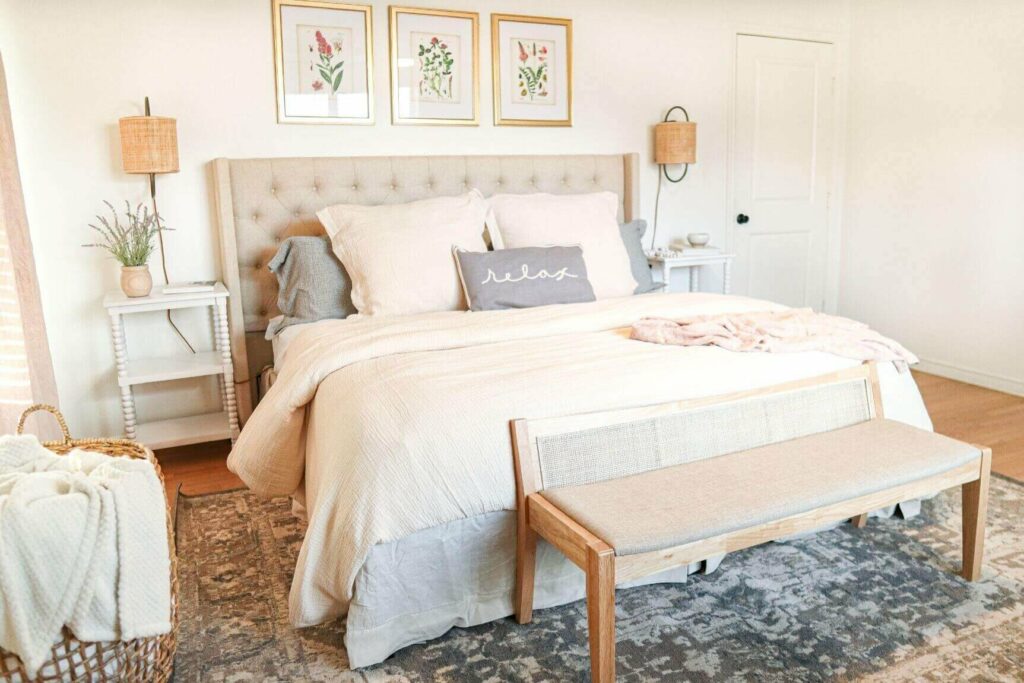
MASTER BEDROOM & BATHROOM
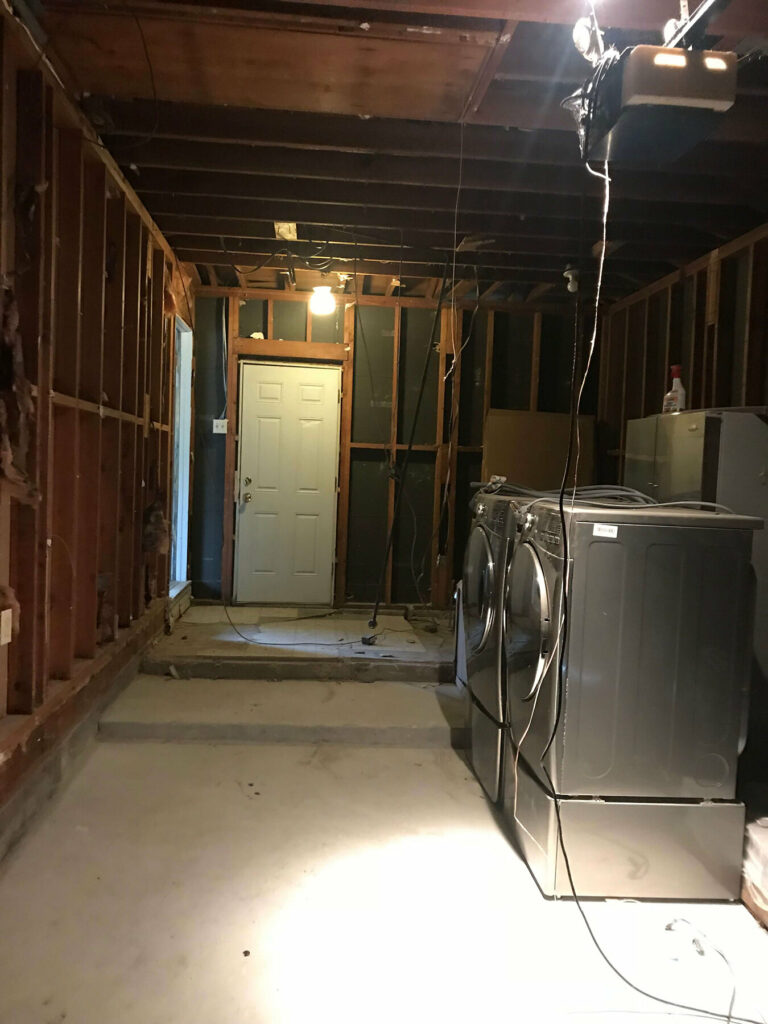
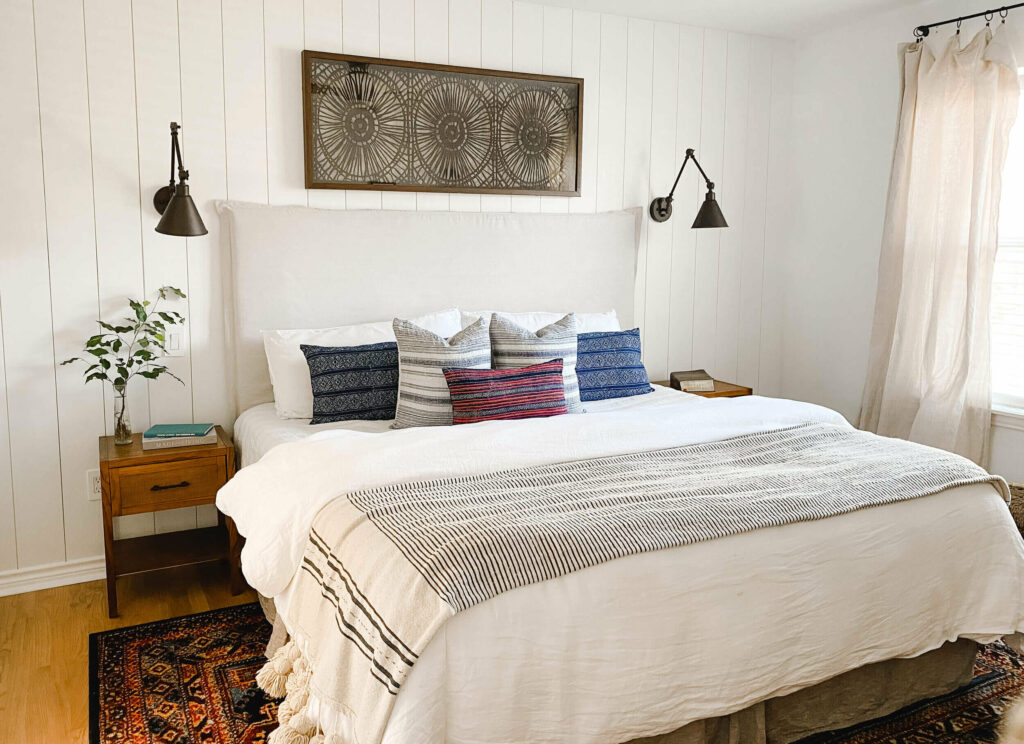
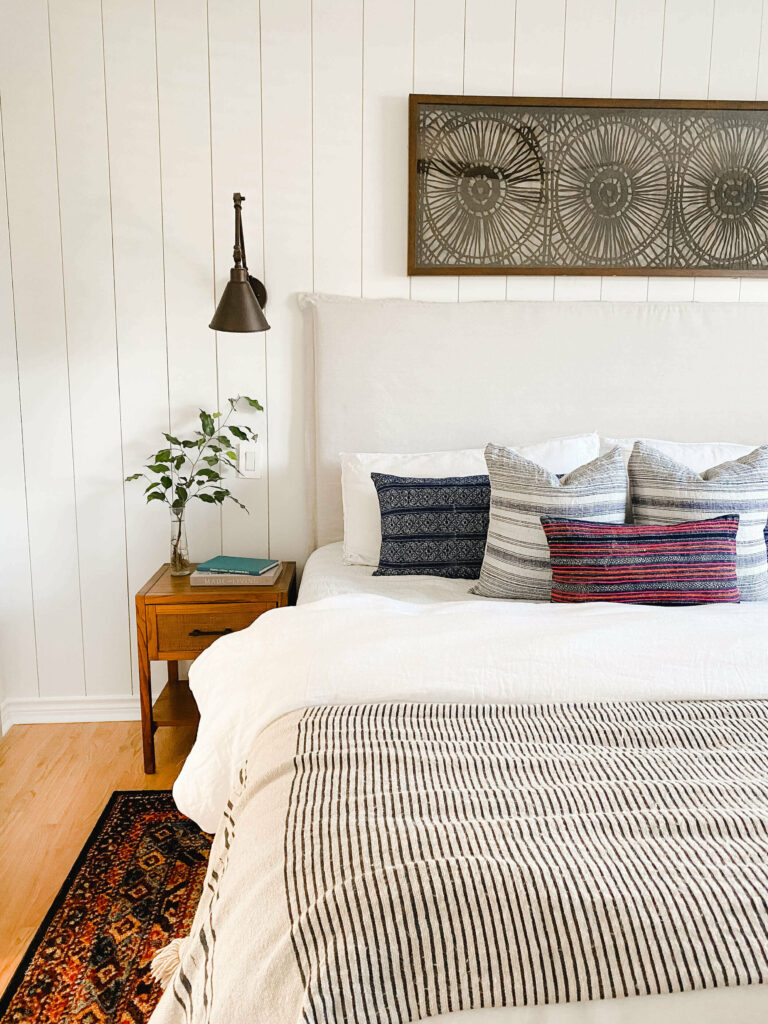
This before and after still blows my mind. We converted our garage into our master bedroom. When we purchased the home it was a 2 bed 1 bath house. We knew if we ever wanted to resell we needed another bed and bath. We also knew this was important for our own family to function.
I had seen some really great conversions, but I had also seen some really bad ones so I took a lot of time to figure out how to make it look as if this master always was. The first step was to frame the garage to the same level as the rest of the house. Originally you had to step down to enter the garage. Next was the updates to the exterior. The last feature that helped was the flooring matching the rest of the house.
BEFORE
AFTER
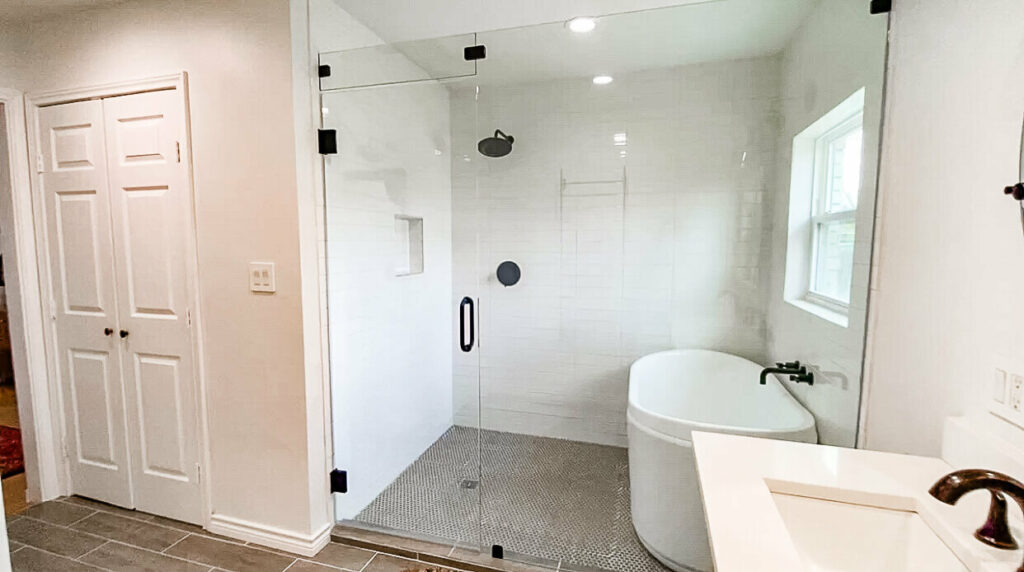
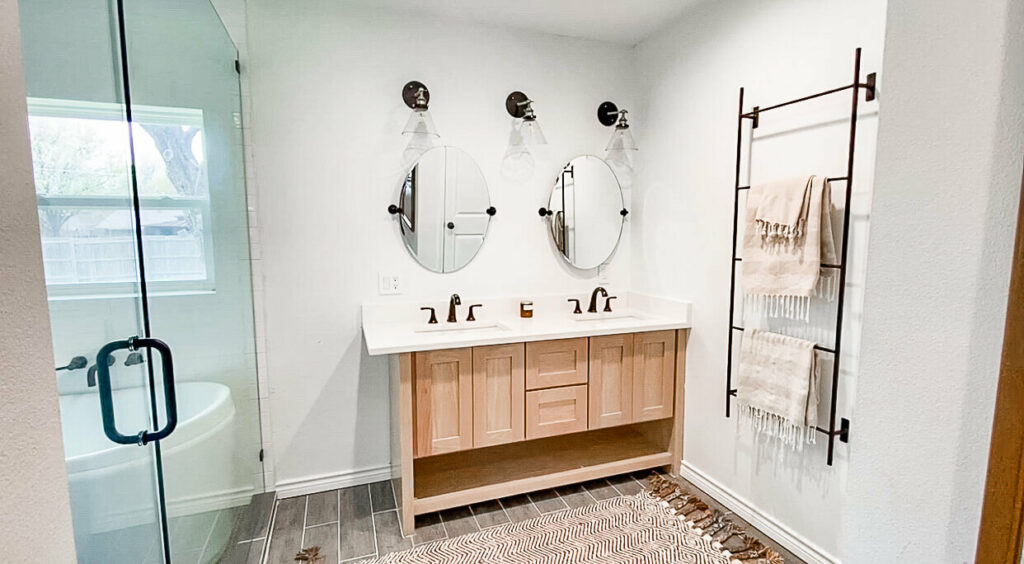
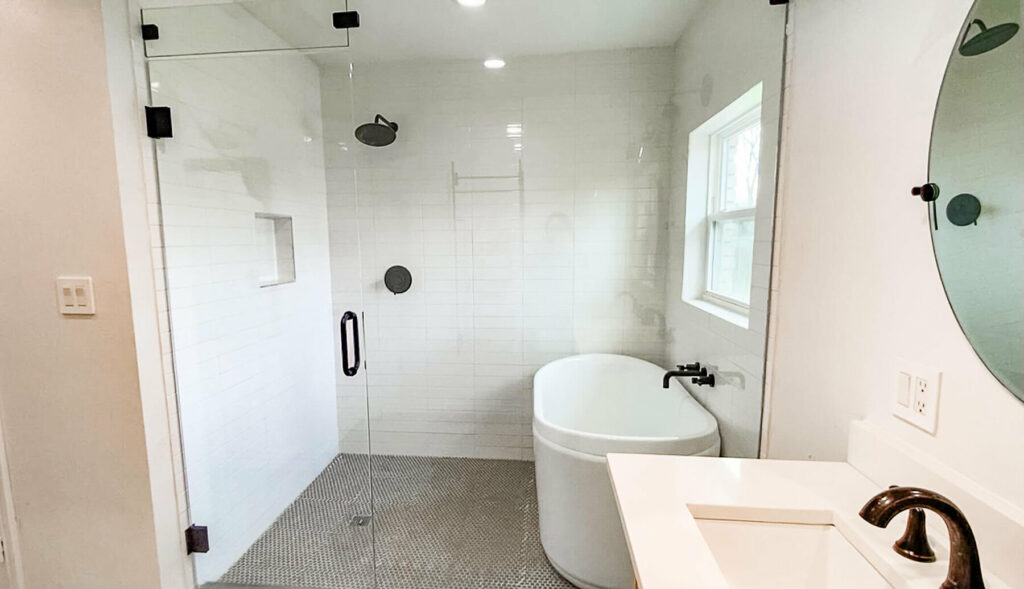
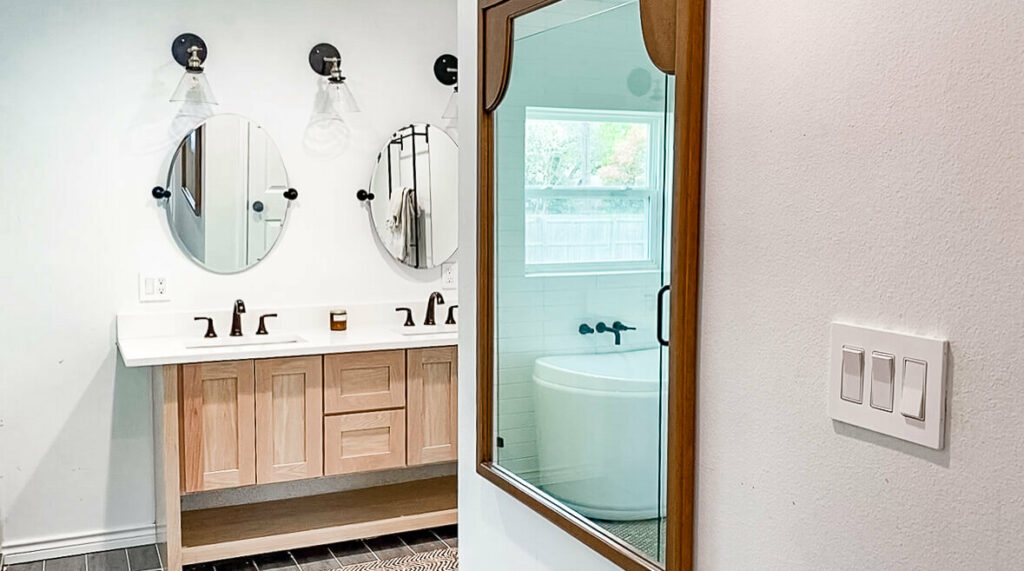
The master bath was a game of Tetris to make everything fit. This room was the laundry room inside the garage. It was a framed in room, but it had no a/c or function so I had no problem losing it to add this master bath.
I found it was a lot easier to make a wet room (shower and tub in one space) than have those elements separate. I really love the end result. We were also able to fit a pretty decent size closet and a water closet.
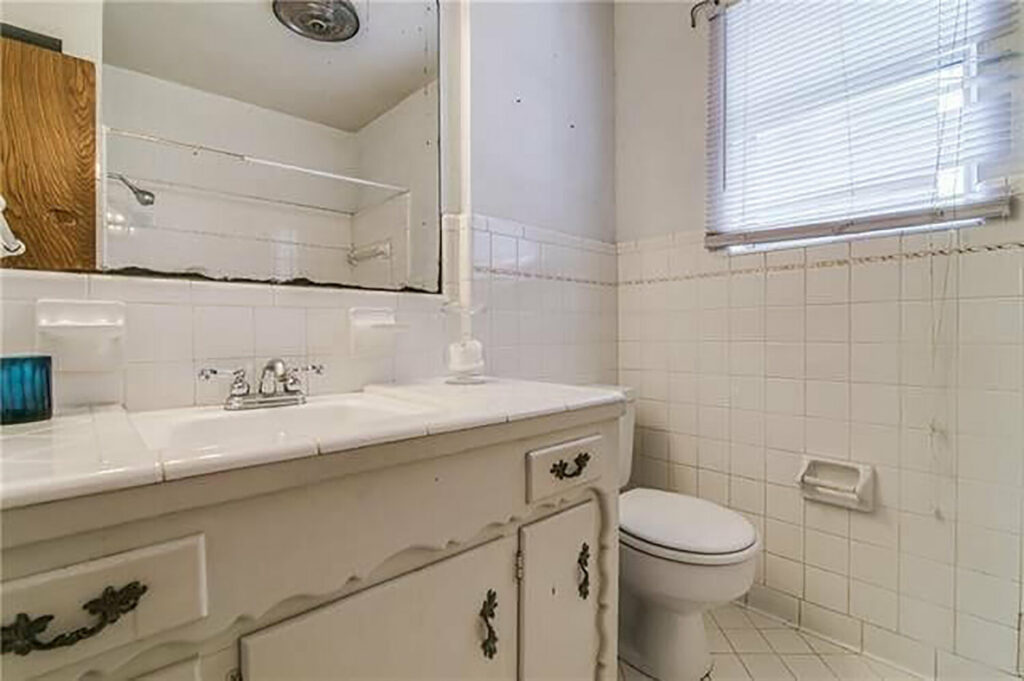
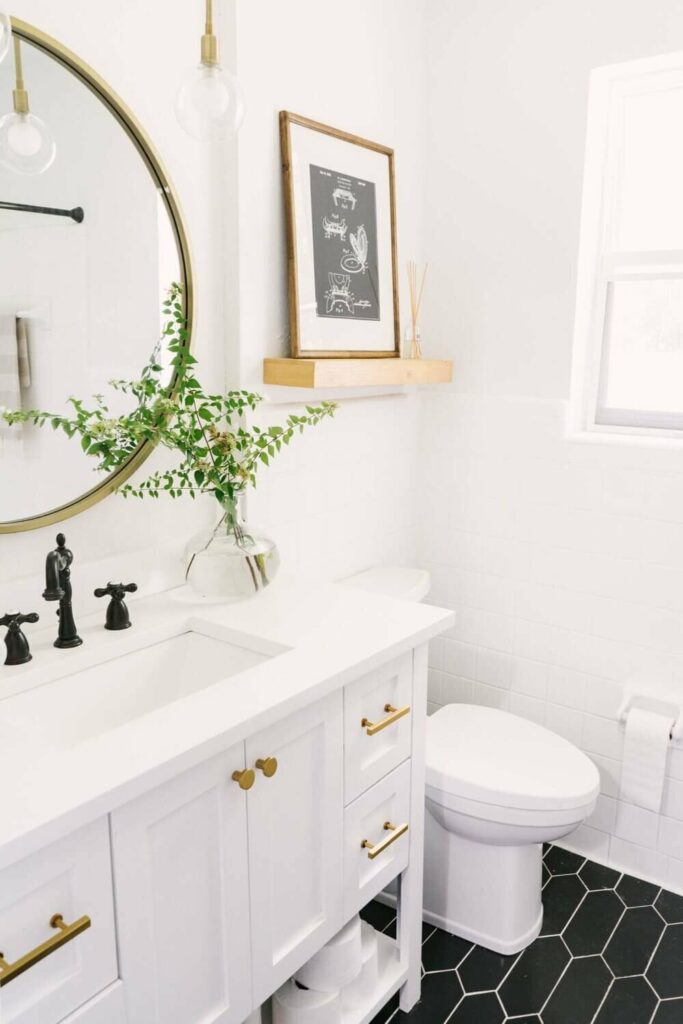
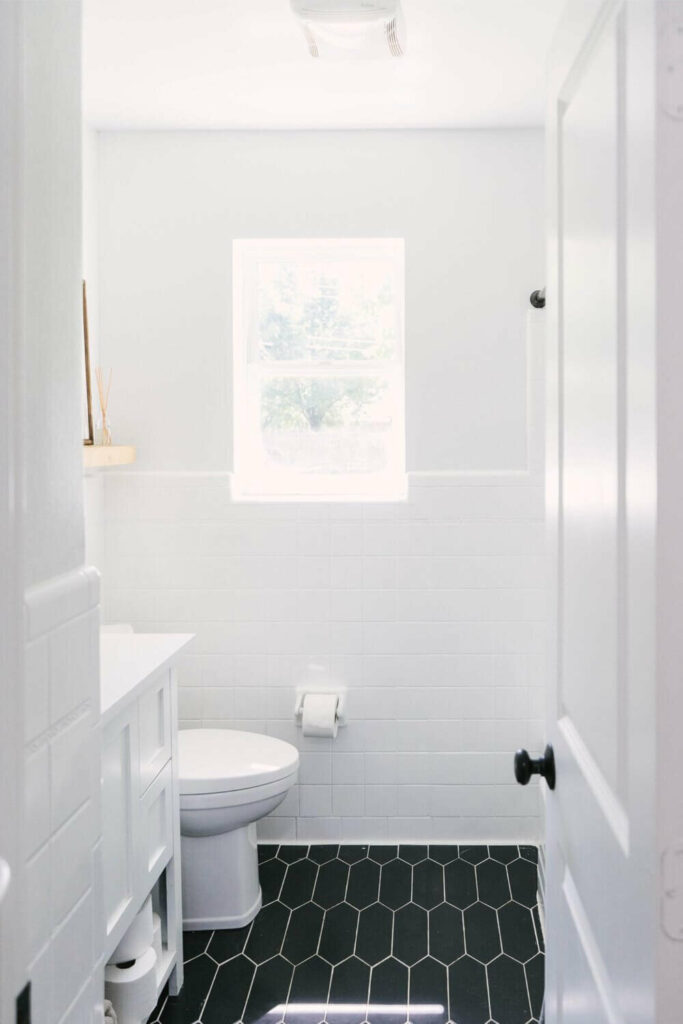
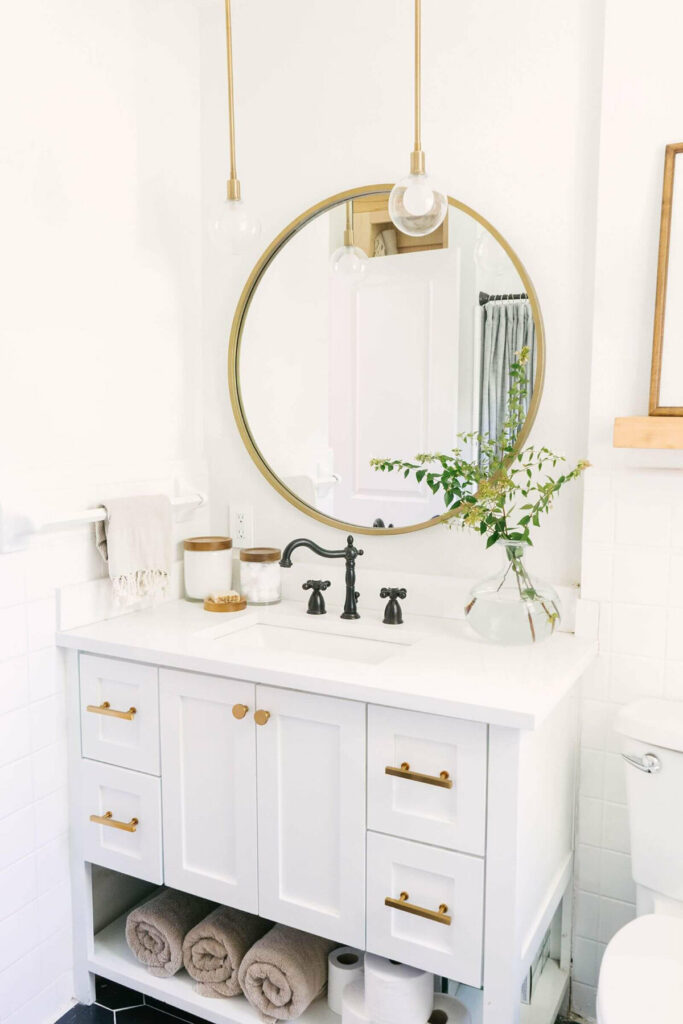
HALL BATH
This bathroom has been popular on the blog because I painted the tile rather than demoing it out. The 1960’s tile was installed with concrete and wire mesh that would have been a beast to remove. We decided to replace the floors but paint the tile to give it a fresh clean look. After 3 years the paint held up great!
BEFORE
AFTER
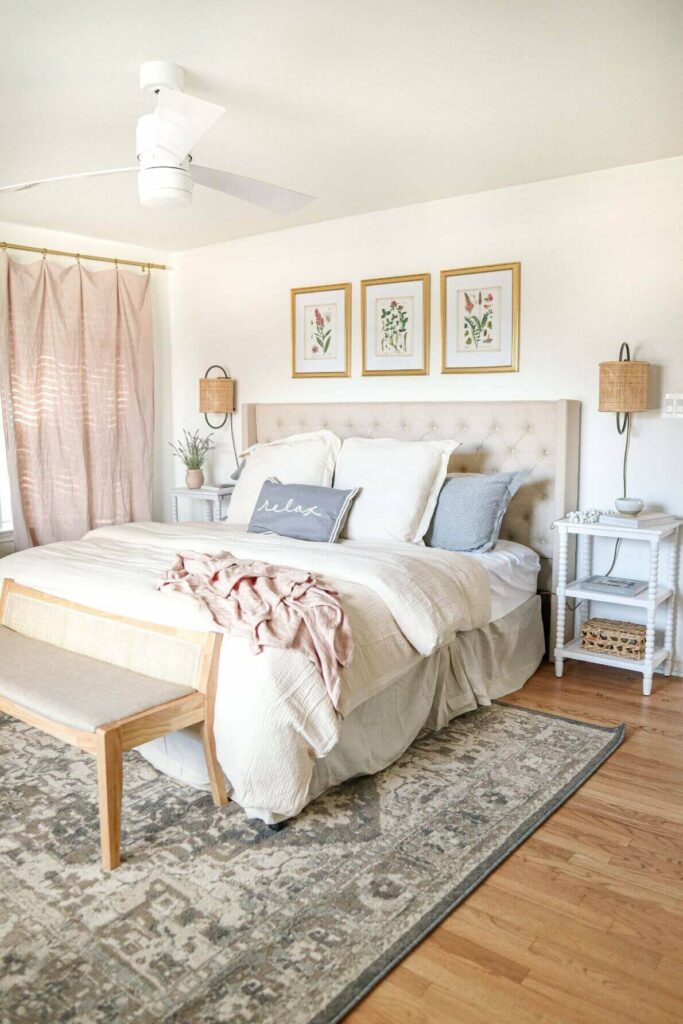
GUEST ROOM
This guest room was originally the master bedroom so it’s much bigger than your typical guest room. It was really functional for us because we could use it as an office and a guest room. I wanted a cozy retreat for my guest since we have family come in regularly.
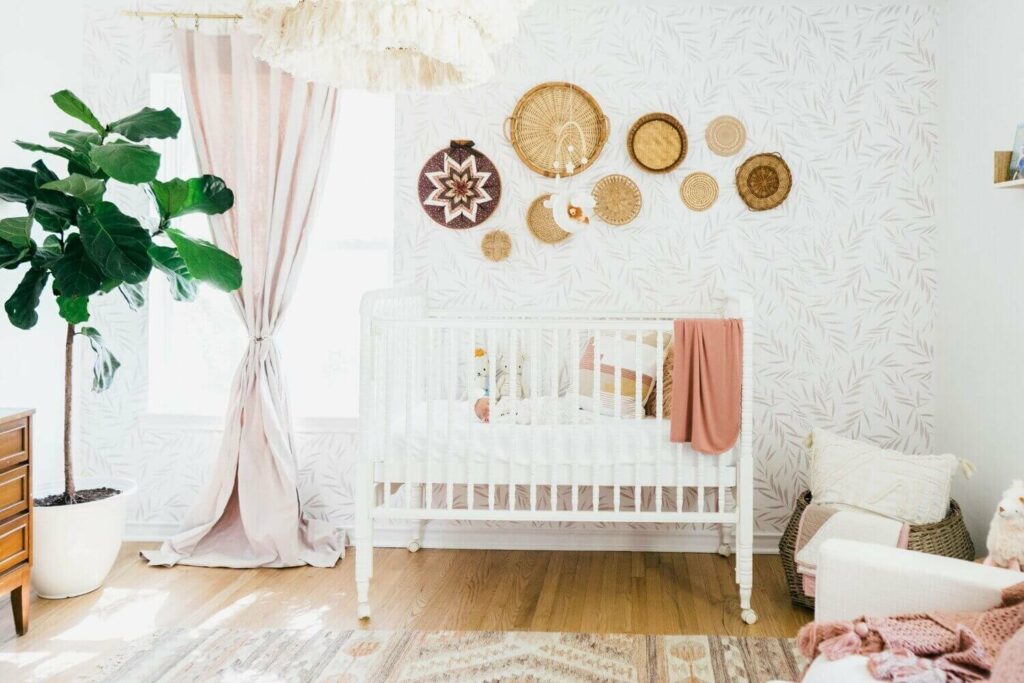
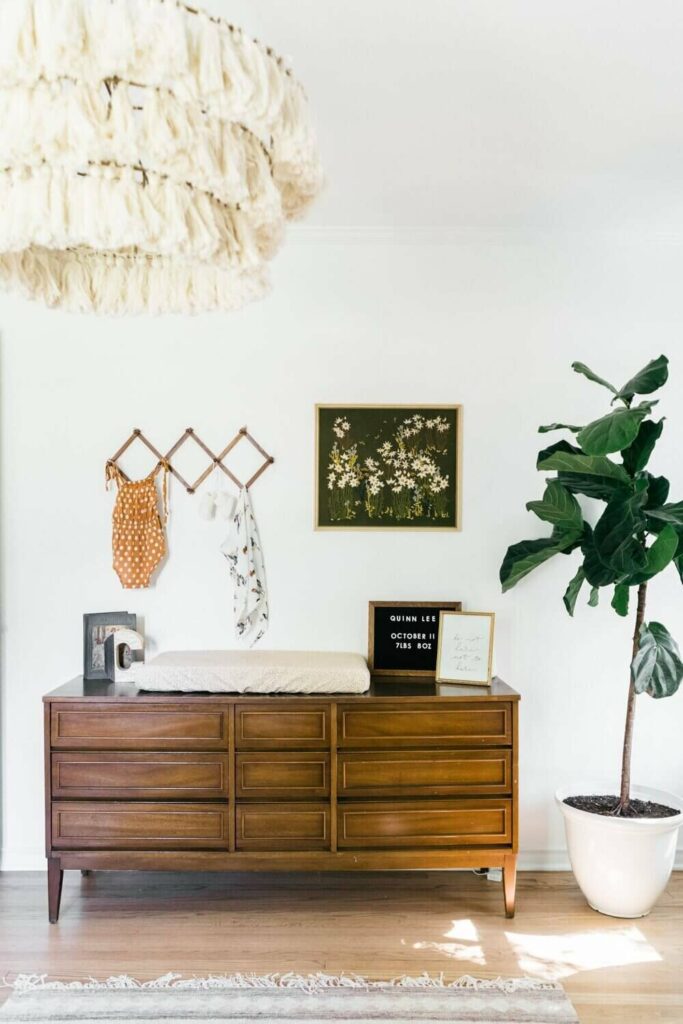
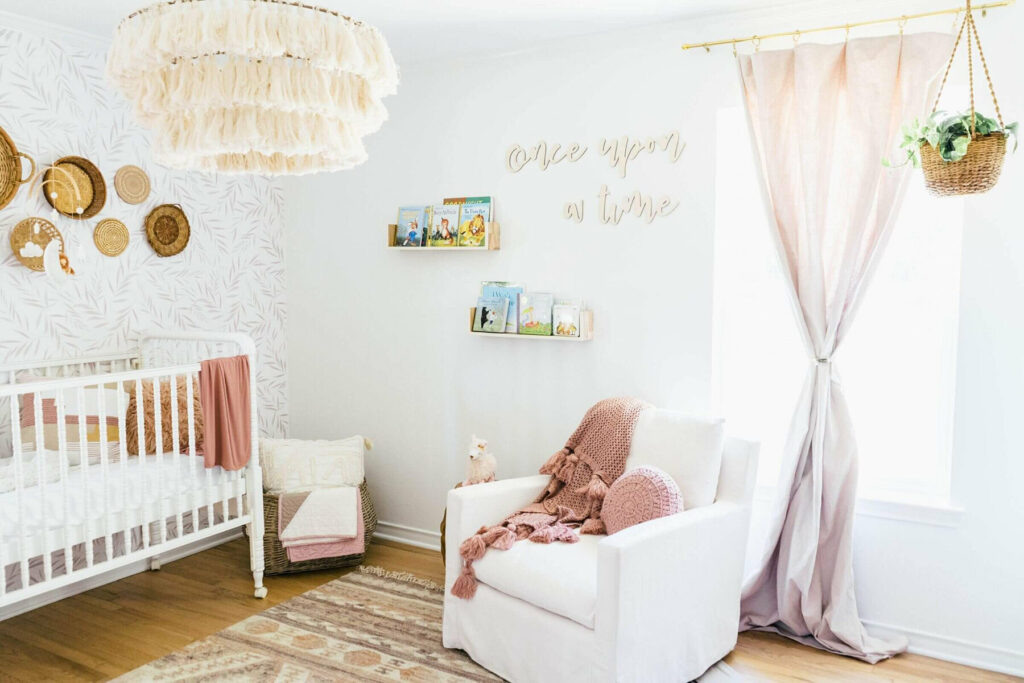
NURSERY
My sweet Quinn’s room was one of my favorite spaces in the house. We chose a wallpaper from Livette’s that we got printed in a custom color. I treasure hunted for fun vintage finds like her mid-century modern dress that I got from an estate sale and the vintage baskets on the wall. The closet doors seen in the video I actually found in the attic and I assume they were original to the space since they fit perfectly.
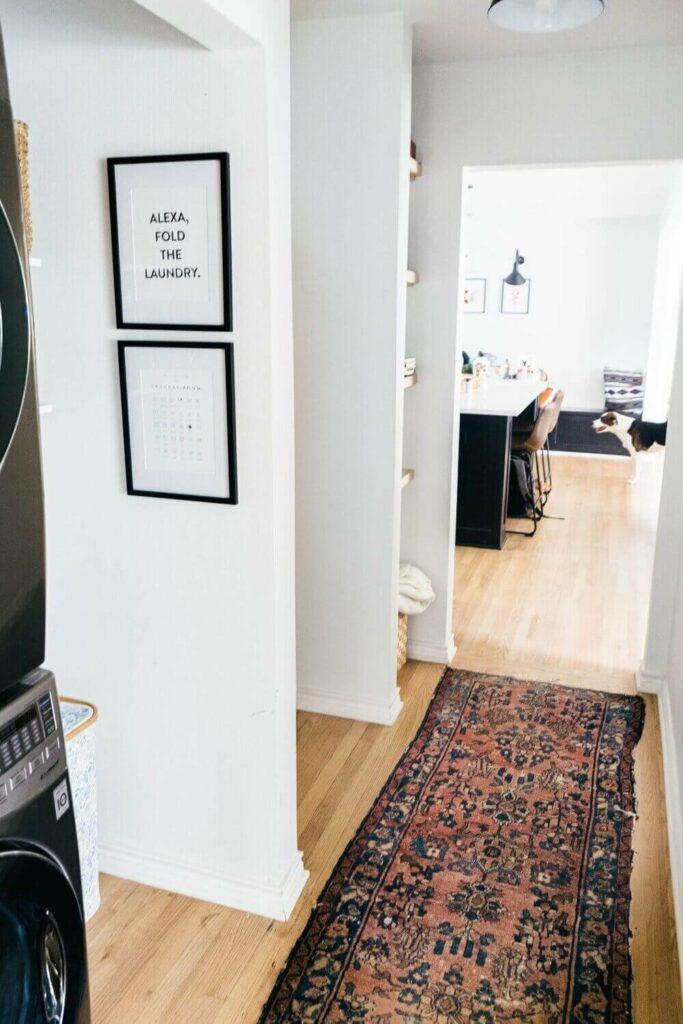
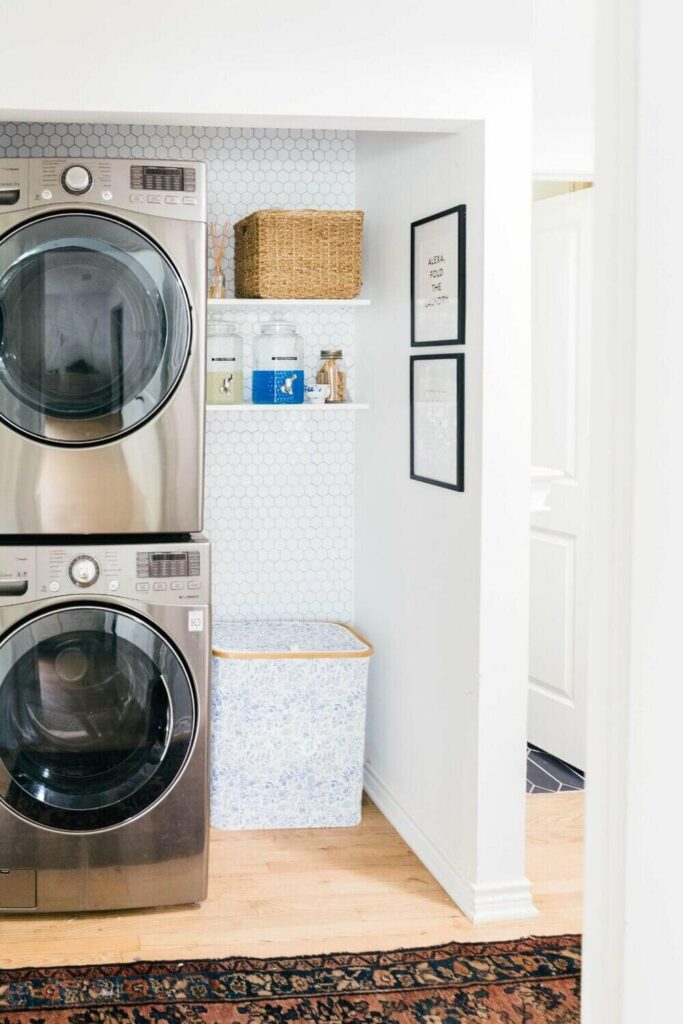
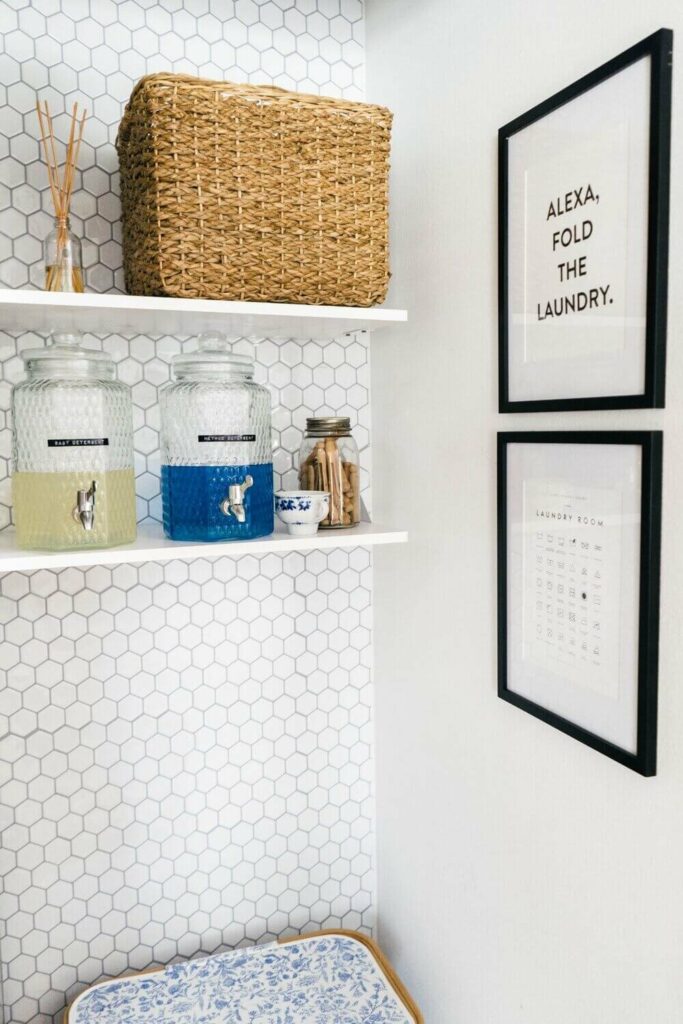
LAUNDRY ROOM
The laundry room was a dilemma during the renovation. I wasn’t sure where to squeeze it in. One day when I was looking at the floor plan I noticed there were literally 4 closets in the hallway and decided to open up two of them and make a laundry nook. You could put doors over them but we left it open. I added the peel and stick tile to make it look a little bit more intentionally designed. It held up great but did pull up a little bit behind the dryer.
I learned so much during this renovation and I’m so happy with how it turned out. I’ve already seen photos of how the new owners been their own spin on the space and it’s so sweet to see it loved the way we loved it. Now on to the new list of projects! If you want a tour of our new home follow the link here.
Thanks so much for touring!
Wow! A lot of work… but fantastic results! It looks amazing! What an incredible difference the updates made. Last year I bought a brick ranch built in the 1960’s and I love it. Seeing what you/your family did here has given me some great ideas too. A few questions for you – what specific paint (and sheen) did you use for your front door? And what specific window did you add to your living room (the big picture window)? I’m looking to update both features in my home. Cheers!